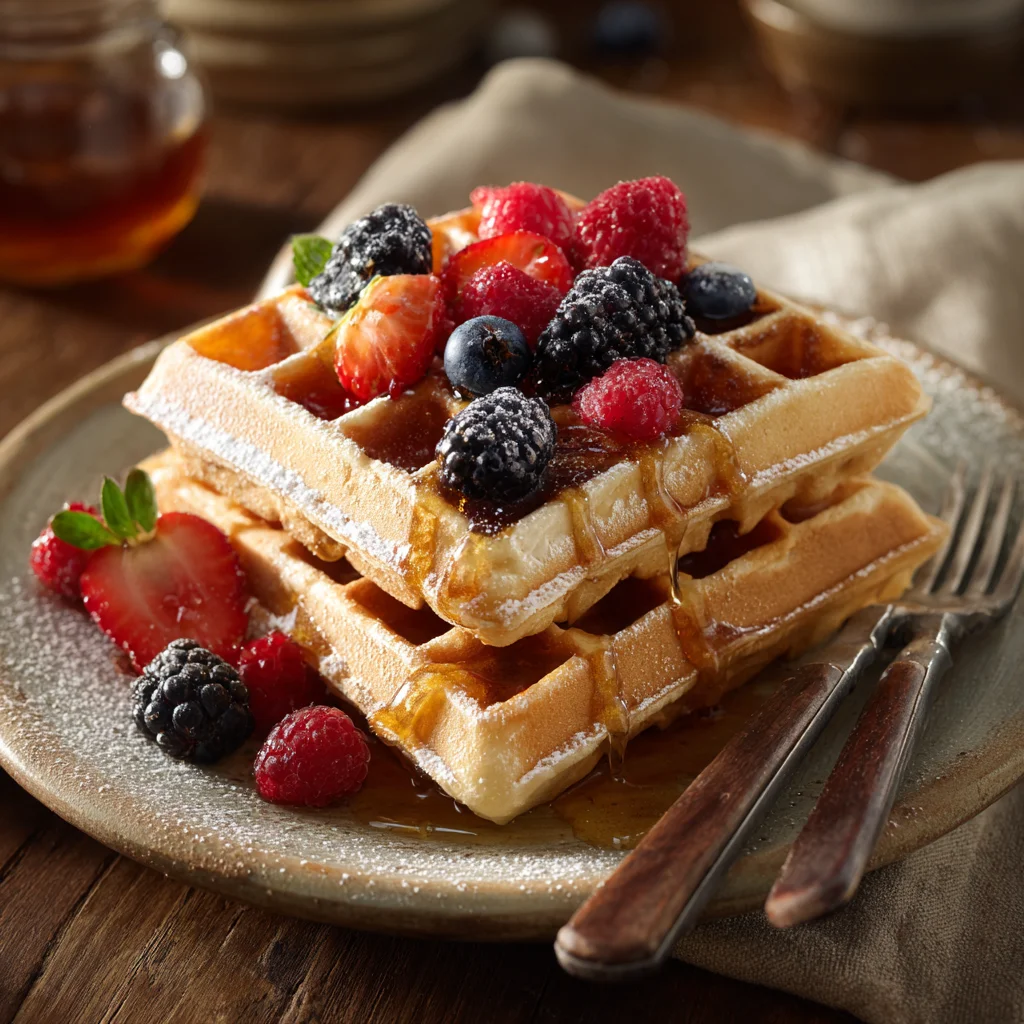
Gluten-Free Waffles Recipe: A Deliciously Fluffy Breakfast
If you’re looking for a delicious, light, and fluffy breakfast that everyone can enjoy, look no further than gluten-free waffles. These waffles are the perfect way to start your day, whether you have a gluten sensitivity or you’re simply in the mood for a lighter, healthier twist on a classic favorite. Plus, they’re super easy to make, and they’ll have you hooked from the first bite. Here’s a recipe you’ll want to keep coming back to!
Ingredients
- 1 1/2 cups gluten-free all-purpose flour (make sure it’s a 1:1 blend)
- 2 tablespoons sugar (or honey, if you prefer a more natural sweetener)
- 2 teaspoons baking powder
- 1/2 teaspoon salt
- 1/2 teaspoon ground cinnamon (optional)
- 2 large eggs
- 1 cup milk (dairy or non-dairy like almond milk)
- 1/4 cup melted butter or coconut oil
- 1 teaspoon vanilla extract
- 1/4 cup water (optional, to adjust batter consistency)
Instructions
Step 1: In a large bowl, whisk together the dry ingredients: gluten-free flour, sugar, baking powder, salt, and cinnamon. This is your base mixture.
Step 2: In a separate bowl, beat the eggs and then add the milk, melted butter (or coconut oil), and vanilla extract. Stir these wet ingredients together until everything is combined.
Step 3: Pour the wet ingredients into the dry ingredients and mix until just combined. Be careful not to overmix, as this can affect the fluffiness of your waffles.
Step 4: If your batter seems a bit thick, you can add a little water to reach your desired consistency.
Step 5: Preheat your waffle iron according to the manufacturer’s instructions. Once it’s hot, lightly grease it with cooking spray or brush it with a little butter or oil.
Step 6: Pour the batter onto the waffle iron. The amount you use will depend on the size of your waffle iron, but about 1/2 cup should be enough for most standard-sized irons.
Step 7: Close the waffle iron and cook for 3-5 minutes, or until the waffles are golden brown and crisp on the outside. The exact cooking time may vary depending on your waffle iron.
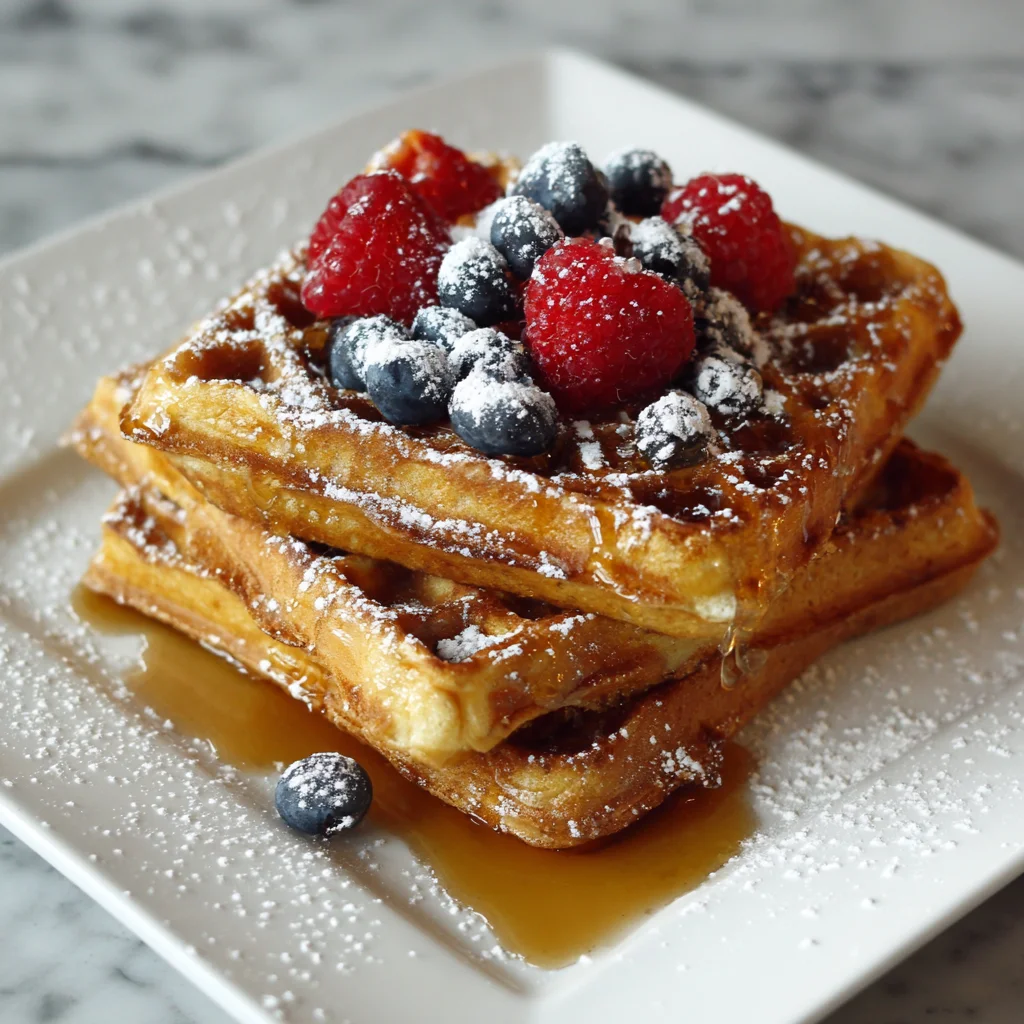
Step 8: Carefully remove the waffles and serve immediately with your favorite toppings. Think maple syrup, fresh fruit, whipped cream, or a dusting of powdered sugar for extra sweetness.
Recipe Notes
- Flour Blends: When using gluten-free flour, it’s best to use a blend that includes a variety of flours, such as rice flour, potato starch, and tapioca flour. This will help achieve the best texture and taste for your waffles.
- Non-Dairy Options: If you’re looking for a dairy-free version, simply substitute the milk with any non-dairy milk like almond milk, coconut milk, or oat milk. You can also swap out the butter for coconut oil for a fully dairy-free waffle.
- Sweeteners: You can use sugar, honey, or even maple syrup to sweeten the batter. If you want a low-sugar option, try stevia or monk fruit sweetener.
- Toppings: These waffles are super versatile when it comes to toppings. Fresh berries, banana slices, nuts, or even a drizzle of nut butter all make excellent additions.
Time and Serving
Prep Time: 10 minutes
Cook Time: 10 minutes
Total Time: 20 minutes
Serving Size: 4 waffles (about 2 servings)
Storage
Storing Leftovers:
If you have leftovers (which is rare with these delicious waffles!), you can store them in an airtight container in the fridge for up to 3 days. To reheat, simply pop them in the toaster or microwave for a few seconds. They’ll still taste just as great!
Freezing:
You can also freeze gluten-free waffles for later! Once they’ve cooled down, place them on a baking sheet in a single layer and freeze until solid. Then, transfer them to a freezer-safe bag or container. They can be stored in the freezer for up to 3 months. Reheat in the toaster for a quick and easy breakfast!
Nutrition Breakdown (Per Serving)
| Nutrient | Amount |
| Calories | 210 kcal |
| Protein | 4g |
| Carbohydrates | 28g |
| Fat | 10g |
| Fiber | 1g |
| Sugars | 7g |
| Cholesterol | 55mg |
| Sodium | 250mg |
Note: These values are based on using dairy milk and butter. You can reduce the calorie count by using almond milk and coconut oil.
Extra Tips to Make the Recipe Perfect
- Consistency is Key: Gluten-free batter can sometimes be a little thicker than regular waffle batter, so make sure to adjust the consistency with a bit of water or more milk if needed.
- Crispy Waffles: If you prefer extra crispy waffles, you can increase the cooking time by a minute or so, but be sure not to overdo it to avoid burning.
- Try Adding Extras: Consider adding in extras like chocolate chips, mashed bananas, or even a handful of nuts to the batter for extra flavor and texture.
- Make It a Meal: Pair these waffles with a protein like scrambled eggs or turkey bacon for a well-rounded breakfast.
How to Serve
These gluten-free waffles can be served in a variety of ways:
- Classic Style: With maple syrup and fresh berries for a sweet, traditional breakfast.
- Savory Twist: Add a dollop of sour cream or yogurt with a sprinkle of chives and smoked salmon for a savory breakfast option.
- Dessert Style: Top them with chocolate syrup, whipped cream, and chopped nuts for a decadent dessert.
Kitchen Tools Needed
- Waffle Iron: The star of the show! Make sure it’s preheated and ready to go.
- Mixing Bowls: To combine the dry and wet ingredients.
- Whisk: For mixing the ingredients together smoothly.
- Measuring Cups and Spoons: To ensure you’re using the right amount of each ingredient.
- Spatula: To carefully remove the waffles from the iron without breaking them.
FAQs About Gluten-Free Waffles
Final Thoughts
Gluten-free waffles are not only easy to make but also offer a delicious, lighter alternative to traditional waffles. They’re perfect for anyone with dietary restrictions or anyone looking to try something new. With simple ingredients and a few easy steps, these waffles will soon become a go-to breakfast in your home. Whether you like them sweet or savory, these gluten-free waffles can be customized to suit any craving. Enjoy!