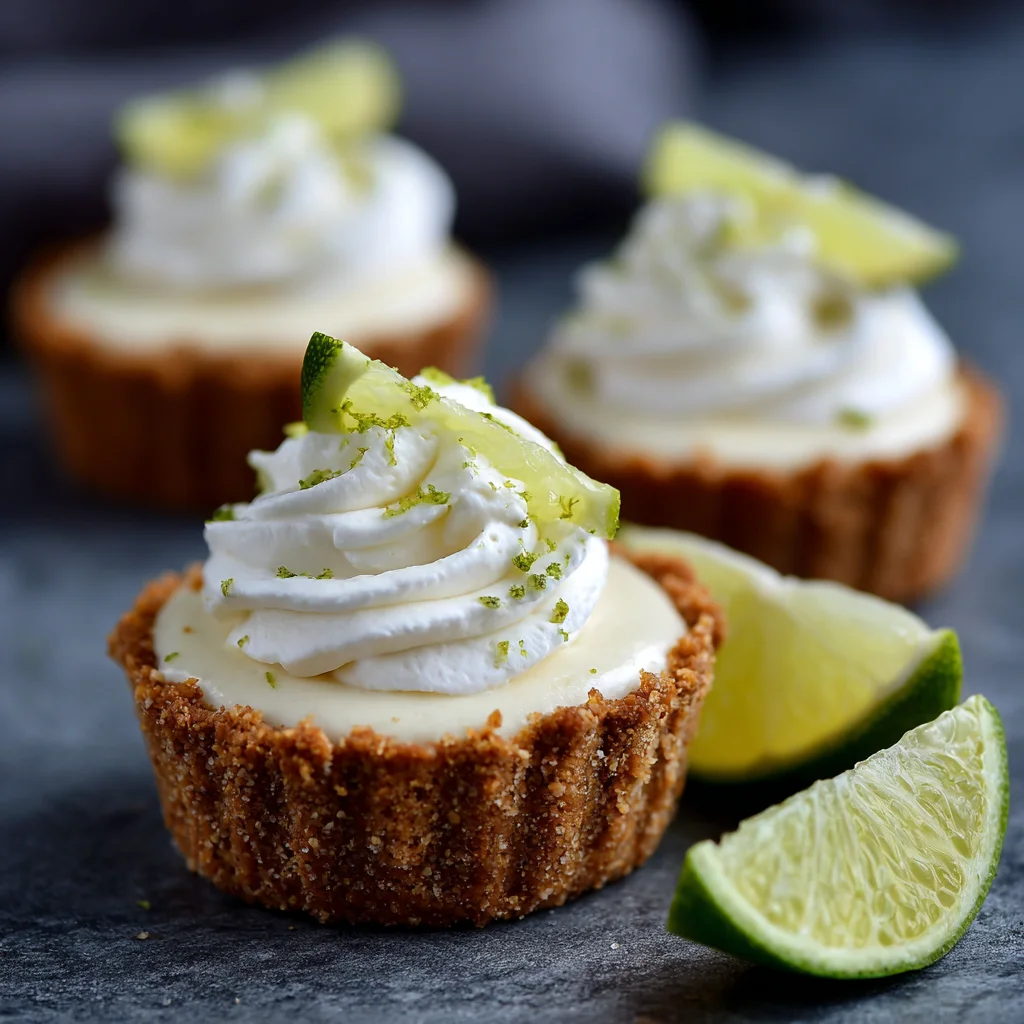
🥧 Easy No-Bake Mini Key Lime Pie Recipe: The Best Individual Summer Treat
If you’re craving something sweet, tangy, and refreshing, this easy no-bake mini Key Lime Pie recipe is exactly what you need. It’s quick, simple, and requires no oven—perfect for those hot summer days when you just don’t want to turn on the heat. These individual pies are perfectly portioned, making them ideal for a fun family treat or for serving at gatherings. Plus, they’re so easy to make, even beginner bakers can get them just right. Let’s dive into the recipe and get your taste buds excited!
💚 Why You’ll Love This Recipe
| Feature | Why It Is Great |
| No Baking | No oven means a cool kitchen and less stress. |
| Simple Stuff | You only need a few basic things from the store. |
| Perfect Size | They are already in single servings so no messy slicing. |
| Kid-Friendly | Children love to help press the crumbs into the pans. |
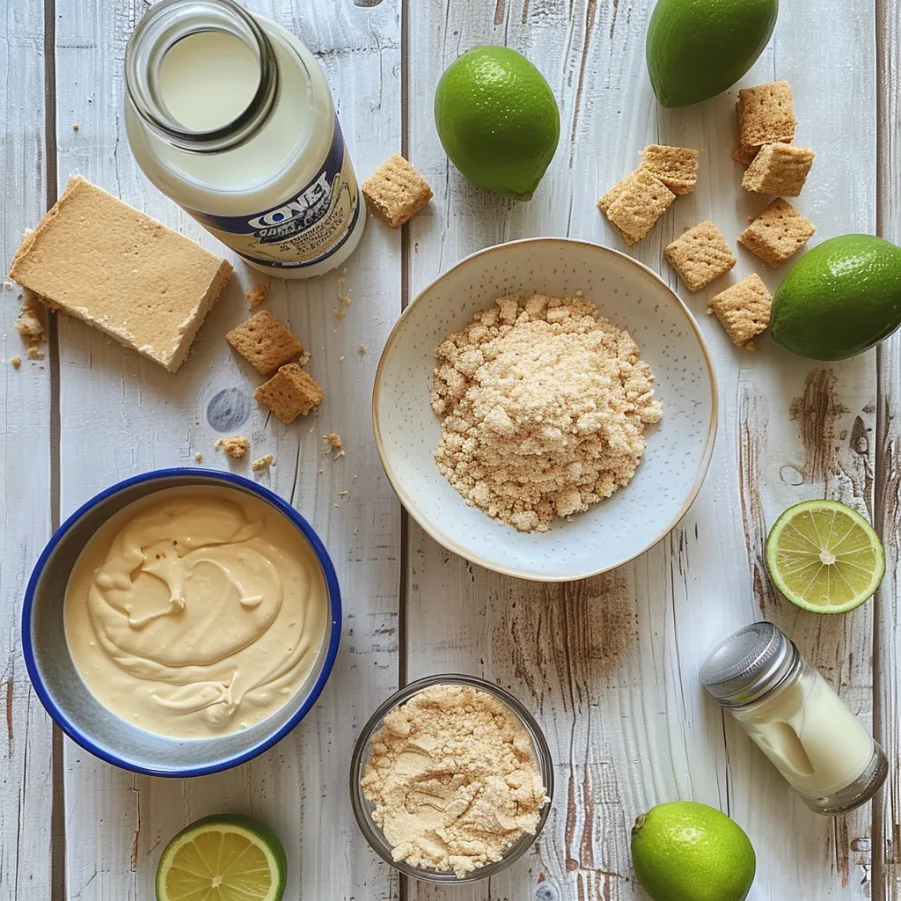
🛒 Ingredients for Mini Key Lime Pies
You probably have some of these in your cupboard already. If not they are easy to find.
For the Graham Cracker Crust:
| Ingredient | Amount | Notes |
| Graham cracker crumbs | 1 1/2 cups | Use a food processor or a bag and a rolling pin. |
| Sugar | 1/4 cup | Regular white granulated sugar works best. |
| Unsalted butter | 1/2 cup | Melt this in the microwave first. |
For the Tangy Filling:
| Ingredient | Amount | Notes |
| Cream cheese | 8 oz | Make sure it is very soft before you start. |
| Sweetened condensed milk | 14 oz (1 can) | This provides the sweetness and structure. |
| Key lime juice | 1/2 cup | Fresh is best but bottled is okay too. |
| Lime zest | 1 tablespoon | This adds that bright green pop of flavor. |
| Vanilla extract | 1/4 teaspoon | Just a tiny bit to round out the taste. |
For the Garnish:
- Whipped cream (heavy cream or a tub from the store).
- Lime slices for a pretty look.
👩🍳 Step-by-Step Guide
Follow these simple steps and you will have dessert ready in no time.
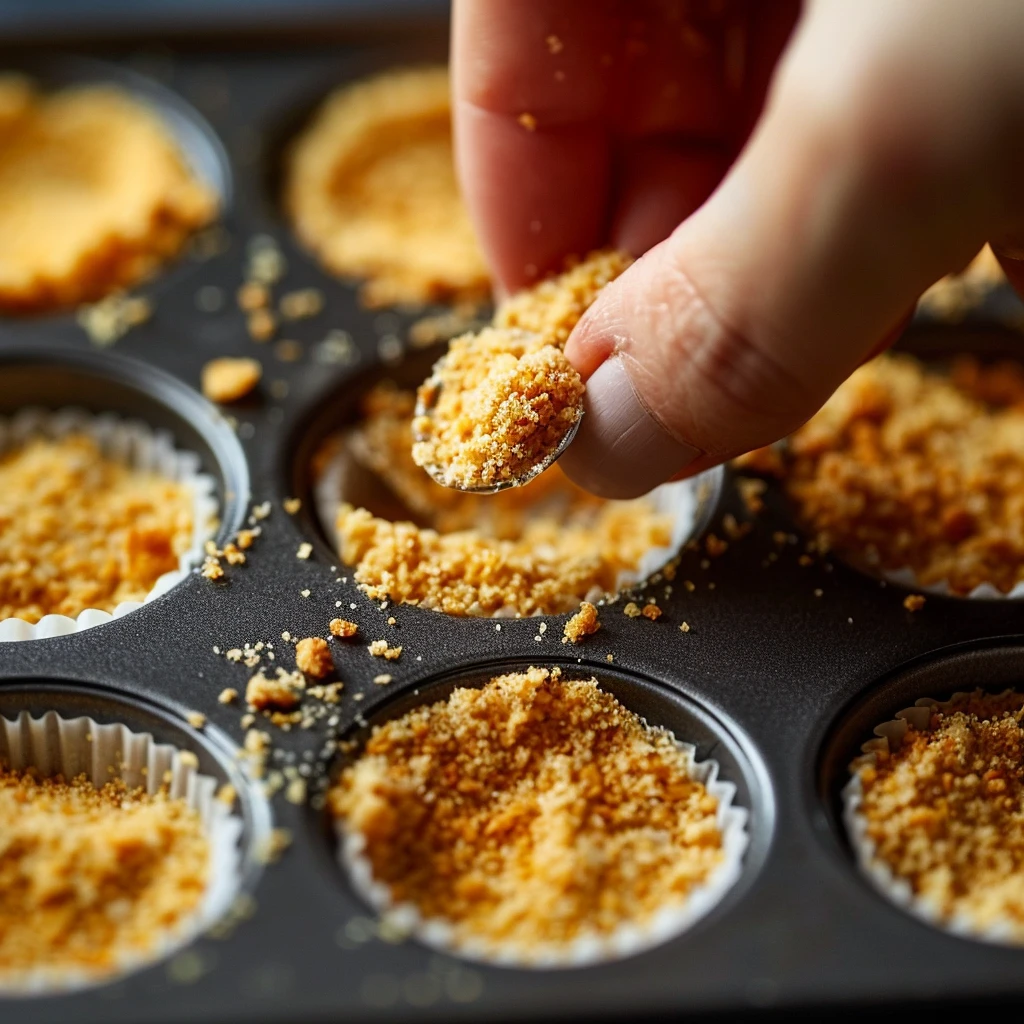
1. Make the Crust
Grab a bowl and mix your graham cracker crumbs with the sugar. Pour that melted butter over them. Stir it until it looks like wet sand. Now take your muffin tin or tart pans. Press the crumbs into the bottom and up the sides a little. I like to use the bottom of a small glass to pack it tight. Put these in the fridge to get firm while you work on the next part.
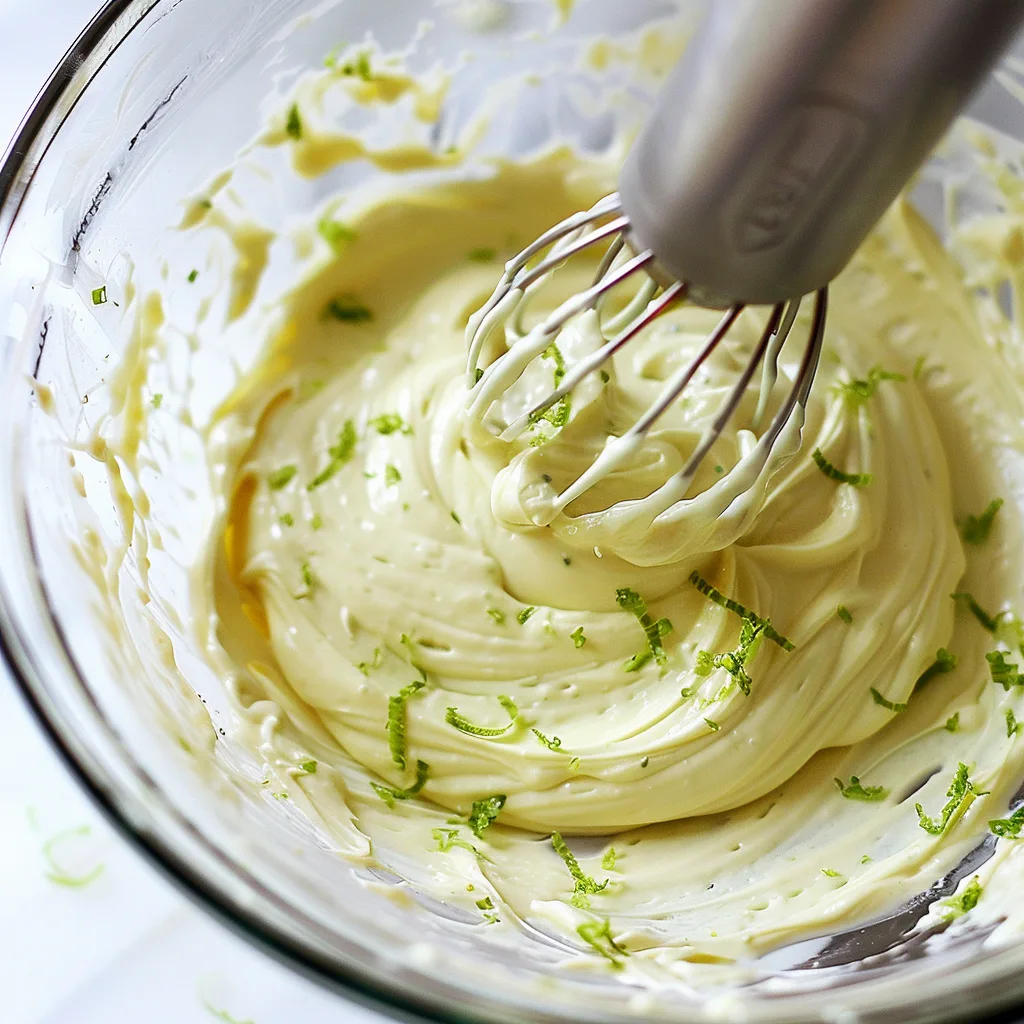
2. Prepare the Filling
In your big bowl beat the soft cream cheese until it is smooth with no lumps. Pour in the whole can of sweetened condensed milk. Add your lime juice, zest, and vanilla. Mix it until it looks creamy and thick. It should smell very fresh!
3. Assemble the Pies
Take your crusts out of the fridge. Spoon the lime mix into each one. Fill them almost to the top. Use the back of your spoon to make the tops flat and pretty.
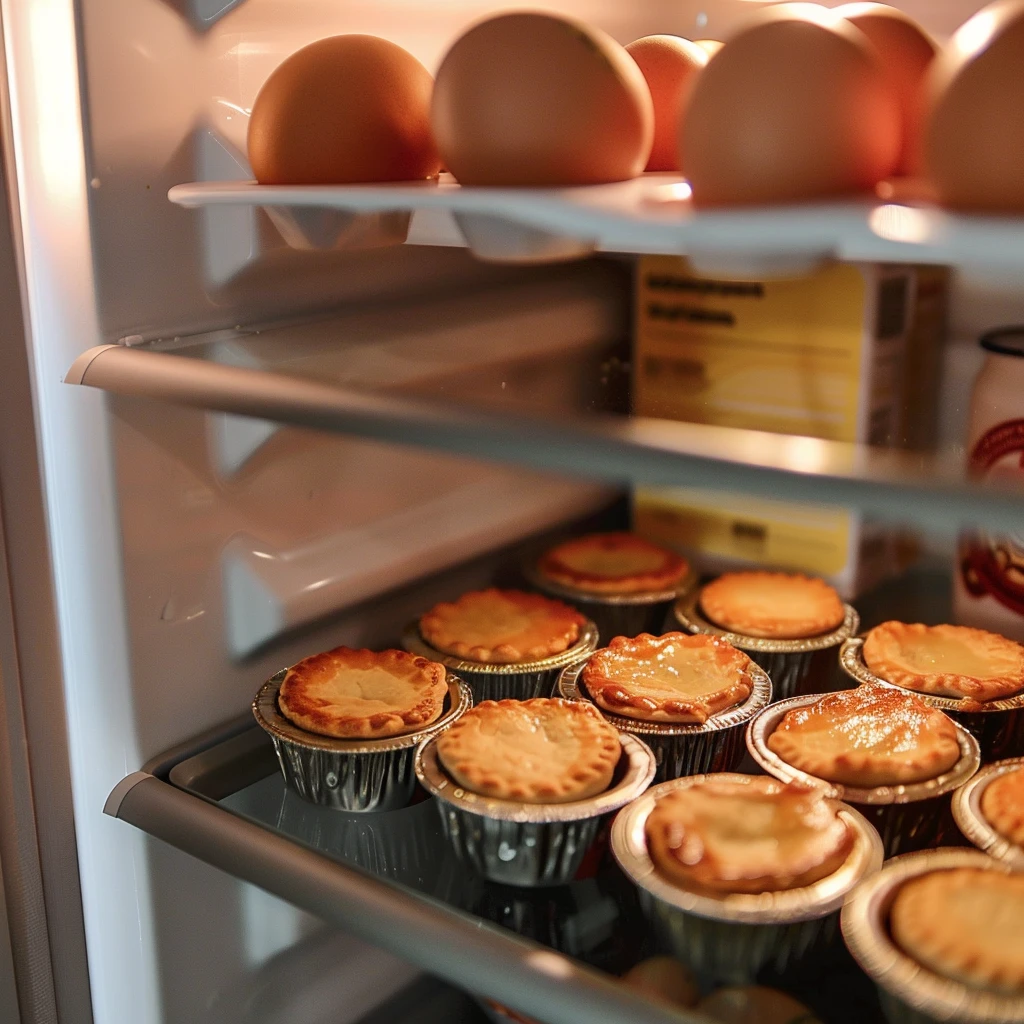
4. Let it Chill
Don’t skip the storage trick — it’s at the end of the post. This part is hard because you want to eat them now. But they need to sit in the fridge for at least 4 hours. Overnight is even better. They need this time to set up so they don’t fall apart when you pick them up.
5. Decorate and Serve
Right before you serve them put a big dollop of whipped cream on top. Add a small slice of lime. They are ready to go!
⏱️ Time and Servings
- Prep time: 20 minutes
- Chill time: 4 hours (minimum)
- Total time: 4 hours 20 minutes
- Servings: Makes 8-10 mini pies
📝 Recipe Notes
| Topic | Advice |
| Juice Choice | Key limes are smaller and tarter than regular limes. |
| Crust Swaps | Try Biscoff cookies or shortbread instead of graham crackers. |
| No Mini Pans? | You can make one big pie in an 8-inch pan if you prefer. |
| Softness | Ensure the cream cheese is truly at room temperature. |
🤫 The Secret Ingredient
If you want people to ask “what is that amazing flavor?” then you need to add a tiny pinch of ginger powder to your graham cracker crumbs. I think it adds a warm spicy note that hits you right after the sour lime. It makes the crust taste like it came from a fancy bakery. It is a small change but it makes a huge difference.
🧊 Storage and Freezing
Don’t skip the storage trick — it’s at the end of the post
You can keep these in the fridge for about 3 days. Make sure they are in a box with a lid so they don’t smell like the other food in your fridge. If you want them to last longer you can actually freeze them!
Put the pies in the freezer until they are hard. Then wrap them in plastic. They will stay good for a month. When you want one just let it sit in the fridge for 2 hours to soften up. It tastes almost like lime ice cream when it is partially frozen!
📊 Nutrition Breakdown (Per Serving)
| Nutrient | Amount |
| Calories | 230 |
| Total Fat | 15g |
| Carbs | 26g |
| Protein | 2g |
| Sugar | 21g |
The nutritional breakdown is approximate and will vary based on the size of your mini pies and ingredients used, but each serving is sure to hit the spot when you’re craving something sweet and refreshing!
Extra Tips to Make the Recipe Perfect:
- Whipped Cream: If you’re looking for a homemade touch, make your own whipped cream. Simply whip heavy cream with a bit of powdered sugar until soft peaks form. It’ll be lighter and fluffier than store-bought!
- Add Coconut: For a tropical twist, sprinkle some toasted coconut flakes on top of the whipped cream before serving. It adds a great texture and flavor contrast.
- Decorate: Besides lime slices, try garnishing with a thin strip of lime zest for an extra pop of color and flavor.
🥗 Serving Suggestions
These little pies are very versatile.
Party Treat: They look beautiful on a white plate with a sprinkle of extra lime zest.
At a BBQ: They are the perfect cooling dessert after spicy grilled food.
With a Drink: Serve them with a cold glass of iced tea or a mojito.
Fruit Plate: Put them on a platter with fresh strawberries and mango slices.
Kitchen Tools Needed:
- Mini tart pans or muffin tin (for individual pies)
- Mixing bowls
- Hand mixer or stand mixer
- Spoon or spatula for filling and smoothing
- Refrigerator for chilling
FAQs about Easy No-Bake Mini Key Lime Pie Recipe

💭 Final Thoughts
I really hope you give this no-bake mini Key Lime Pie recipe a try this summer. It is so rewarding to make a dessert that looks this good without even turning on the stove. I think your friends and family will really love the balance of the buttery crust and the sharp lime filling. It is a simple joy that makes any hot day feel a little more special. Happy mixing and enjoy your sweet treats!