
Easy Pancake Recipe: Fluffy, Golden, and Perfect Every Single Time
There is something deeply comforting about a stack of homemade pancakes. Not the thin, rubbery kind that come from a tired batter mixed too enthusiastically or cooked in a pan that was not properly heated, but the genuinely fluffy, golden-edged kind that rise properly on the griddle, smell extraordinary as they cook, and taste like something made with intention rather than convenience. That is precisely what this recipe delivers — and it does so with ingredients so basic and a method so straightforward that even someone who has never cooked a pancake in their life can produce a flawless stack on the very first attempt.
The secret to truly great pancakes is not a single exotic ingredient or a complicated technique — it is an understanding of what each component does and why it matters. Baking powder creates the lift that produces fluffy interiors. Buttermilk or regular milk with a touch of acid activates the leavening and tenderizes the gluten structure. A small amount of melted butter in the batter adds richness and flavor while also contributing to the lightly crisp edges that contrast so beautifully with the soft center. And resting the batter briefly before cooking allows the gluten to relax and the leavening to begin working, producing a pancake that rises higher and stays softer than one cooked immediately after mixing.
Understanding these principles transforms pancake making from a guessing game into a reliable, repeatable process. Once you have made this recipe a few times and felt the batter at the right consistency, recognized the correct surface bubbles that signal it is time to flip, and experienced the difference between a pancake cooked in a properly preheated pan versus one cooked in a cold pan, you will never need to consult a recipe again. Pancake making becomes intuitive, fast, and deeply satisfying — one of those foundational kitchen skills that pays dividends every single time you use it.
Prep Time, Cook Time & Calories at a Glance
| Detail | Information |
|---|---|
| Prep Time | 10 minutes |
| Rest Time | 5 minutes (recommended) |
| Cook Time | 20 minutes |
| Total Time | 30 minutes |
| Servings | 4 (10–12 pancakes) |
| Calories per Serving | 280–320 kcal |
| Protein per Serving | 8–10g |
| Carbohydrates | 42–48g |
| Fat | 9–12g |
| Sodium | 380–460mg |
Calorie estimates are based on two to three pancakes per serving without toppings. Adding butter, syrup, or fruit will increase the calorie count accordingly.
Ingredients
For the Pancake Batter:
- 1½ cups (190g) all-purpose flour
- 2 tablespoons granulated sugar
- 2 teaspoons baking powder
- ½ teaspoon baking soda
- ½ teaspoon salt
- 1¼ cups (300ml) buttermilk (or regular whole milk with 1 tablespoon white vinegar stirred in and rested for 5 minutes)
- 1 large egg, room temperature
- 3 tablespoons unsalted butter, melted and slightly cooled
- 1 teaspoon pure vanilla extract
For Cooking:
- 1 tablespoon unsalted butter or neutral oil per batch for greasing the pan
Suggested Toppings (Optional):
- Pure maple syrup
- Fresh berries (blueberries, strawberries, raspberries)
- Sliced banana
- Whipped cream
- Honey
- Powdered sugar dusted over the top
- Chocolate chips stirred into the batter
- Salted caramel sauce
Step-by-Step Instructions
Step 1 — Mix the Dry Ingredients In a large mixing bowl, whisk together the all-purpose flour, granulated sugar, baking powder, baking soda, and salt. Spend a full thirty seconds whisking the dry ingredients together until they are completely and evenly combined with no visible clumps of baking powder remaining. This thorough mixing ensures the leavening agents are distributed evenly throughout the flour, which means every pancake in the batch will rise consistently and uniformly rather than some rising more than others. Create a well in the center of the dry ingredients by pushing the flour mixture toward the sides of the bowl — this well will receive the wet ingredients in the next step and makes the combining process easier and less prone to over-mixing.
Step 2 — Mix the Wet Ingredients Separately In a separate medium bowl or large measuring jug, whisk together the buttermilk, egg, melted butter, and vanilla extract until completely combined and smooth. If you do not have buttermilk on hand, pour one tablespoon of white vinegar or fresh lemon juice into a measuring cup, fill it to the 1¼ cup line with whole milk, stir briefly, and allow it to sit for five minutes. The milk will curdle slightly and thicken, producing a reasonable buttermilk substitute that works effectively in this recipe. The egg should be at room temperature rather than cold from the refrigerator — a cold egg introduced into warm melted butter can cause the butter to solidify into small flakes rather than blending smoothly into the batter.
Step 3 — Combine Wet and Dry Ingredients Pour the wet ingredient mixture into the well you created in the center of the dry ingredients. Using a fork or a rubber spatula, stir the batter with slow, deliberate strokes from the center outward, incorporating the flour gradually as you work. Stop mixing the moment the dry ingredients are just incorporated — the batter should look rough, shaggy, and visibly lumpy with several streaks of dry flour still visible. This is not only acceptable but actively desirable. Lumpy pancake batter is the correct result of proper technique. Over-mixing pancake batter develops the gluten in the flour, which produces pancakes that are dense, flat, rubbery, and tough rather than light and fluffy. Resist every instinct to smooth the batter further once the flour has been incorporated.
Step 4 — Rest the Batter Cover the bowl loosely and allow the batter to rest at room temperature for five minutes before cooking. During this brief resting period two important things happen simultaneously. The gluten strands that were agitated during mixing relax and loosen, which allows the pancakes to spread more naturally on the griddle and produces a more tender texture in the finished product. And the baking powder and baking soda begin reacting with the liquid and acid in the batter, generating carbon dioxide bubbles that are already beginning to lighten the batter before it ever reaches the pan. You can often see the batter becoming slightly thicker and more aerated during this rest, which is a good visual confirmation that the leavening is active and working as intended.
Step 5 — Preheat the Pan Correctly Place a large non-stick skillet or griddle over medium heat and allow it to preheat for a full two to three minutes before adding any butter or batter. Proper preheating is one of the most consistently overlooked steps in pancake making and one of the most consequential. A pan that is not adequately preheated produces pale, unevenly cooked pancakes that stick to the surface and cook in a streaky, inconsistent pattern. To test whether the pan is ready, flick a few drops of cold water onto the surface — if they skitter and evaporate immediately with a sharp sizzle, the pan is at the correct temperature. If they simply steam off slowly, the pan needs more time. Once hot, add a small amount of butter to the pan and swirl to coat the surface evenly, allowing the butter to foam and then just subside before adding the batter.
Step 6 — Cook the Pancakes Pour approximately one quarter cup of batter per pancake onto the preheated, buttered surface. Use the bottom of the measuring cup or a spoon to gently spread the batter into a circle approximately four inches in diameter if it does not spread naturally on its own. Cook the pancakes undisturbed for two to three minutes. The correct moment to flip is when the surface of the pancake shows bubbles forming and breaking across the entire top — not just around the edges — and the edges appear set and matte rather than wet and shiny. Slide a thin spatula cleanly under the pancake in one confident motion and flip in a single, decisive movement. Cook the second side for one to one and a half minutes until golden brown. The second side always colors more quickly than the first and will never look as uniformly golden — this is completely normal and not a sign of any problem with the batter or technique.
Step 7 — Keep Warm and Serve Transfer cooked pancakes to a wire rack set over a baking sheet in an oven preheated to its lowest setting — approximately 90°C (200°F) — to keep them warm while you cook the remaining batches. Never stack pancakes directly on top of each other while still hot as the steam they release will make the bottom pancakes soggy and limp. The wire rack keeps air circulating around each pancake and maintains their texture until the entire batch is ready to serve together. Serve in a generous stack with your chosen toppings and enjoy immediately.
Serving Suggestions
Classic Maple Butter Stack: Stack three or four pancakes with a small pat of softened salted butter placed between each layer so it melts down through the stack, then finish with a generous pour of pure maple syrup over the top. This is the most classic and deeply satisfying way to serve these pancakes and the combination that most people reach for instinctively on a relaxed weekend morning.
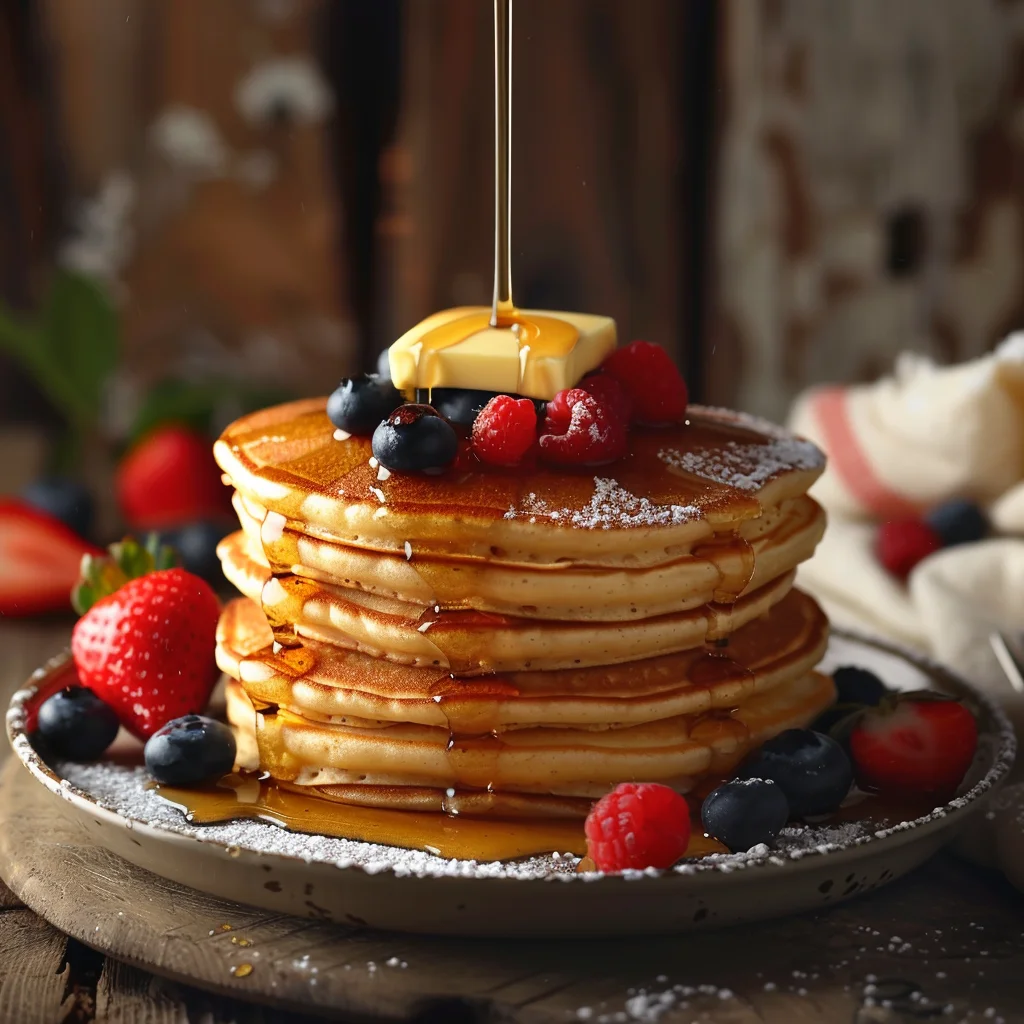
Fresh Berry and Whipped Cream: Top the finished stack with a generous handful of mixed fresh berries — blueberries, sliced strawberries, and raspberries work beautifully together — and a cloud of lightly sweetened whipped cream. A dusting of powdered sugar over the entire plate adds a final touch of sweetness and makes the presentation feel genuinely special and celebratory.
Banana and Honey: Fan several slices of ripe banana across the top of the stack and drizzle generously with raw honey. The natural sweetness of the banana and the floral depth of good honey complement the buttery, vanilla-scented pancakes in a combination that feels both simple and somehow luxurious at the same time.
As a Brunch Centerpiece: Place a large stack of pancakes at the center of the table alongside small bowls of various toppings — maple syrup, fresh fruit, whipped cream, honey, chocolate chips, and crushed nuts — and allow everyone to customize their own plate. This self-serve format transforms a simple breakfast into a relaxed, convivial brunch experience that works beautifully for family gatherings or casual entertaining without requiring any additional dishes or preparation from the host.
Creative Variations
Blueberry Pancakes: Fold one cup of fresh or frozen blueberries gently into the finished batter just before cooking. The berries burst during cooking and release their juice into the surrounding batter, creating pockets of sweet, jammy fruit throughout the pancake. If using frozen blueberries, add them directly from the freezer without thawing to prevent them from bleeding purple color into the entire batter before cooking.
Chocolate Chip Pancakes: Scatter a small handful of semi-sweet or dark chocolate chips directly onto the surface of each pancake immediately after pouring the batter onto the griddle rather than stirring them into the batter. This technique prevents the chips from sinking to the bottom of the pancake and ensures they are evenly distributed across the surface and visible in the finished stack.
Banana Oat Pancakes: Replace half a cup of the all-purpose flour with rolled oats and mash one very ripe banana into the wet ingredients before combining. The result is a heartier, more nutritionally dense pancake with a natural banana sweetness that requires less syrup and a slightly more complex, nutty flavor from the oats.
Lemon Ricotta Pancakes: Replace half the buttermilk with full-fat ricotta cheese and add the zest of one large lemon to the batter. The ricotta creates an extraordinarily light, almost soufflé-like texture in the finished pancake and the lemon zest provides a bright, citrusy freshness that makes these feel elegant enough for a special occasion breakfast or a celebratory brunch with guests.
Cinnamon Brown Sugar Pancakes: Add one teaspoon of ground cinnamon and one extra tablespoon of brown sugar to the dry ingredients. The cinnamon perfumes the batter beautifully and the brown sugar caramelizes slightly against the hot pan surface, creating edges with a deeply golden, slightly toffee-like character that elevates the entire experience considerably.
Storage Instructions
Allow cooked pancakes to cool completely on a wire rack before storing to prevent condensation from making them soggy. Stack the cooled pancakes with a small square of parchment or wax paper between each one to prevent sticking and store in an airtight container or zip-lock bag in the refrigerator for up to three days. Reheat individual pancakes in a toaster for the best texture restoration — the toaster re-crisps the edges beautifully and heats the interior evenly without introducing any moisture. A microwave works in a pinch but softens the edges rather than crisping them. For longer storage, freeze the parchment-separated pancake stack in a freezer-safe bag for up to three months. Reheat directly from frozen in the toaster or in a 180°C (350°F) oven for eight to ten minutes.
Uncooked batter can be stored in a sealed container in the refrigerator for up to twenty-four hours, though the leavening loses some of its potency overnight and the pancakes will not rise quite as dramatically as those cooked from freshly mixed batter. Give the refrigerated batter a very gentle stir before using and add a small pinch of additional baking powder to compensate for the reduced leavening activity if the batter has been stored overnight.
Notes
- Do not over-mix the batter under any circumstances: This is the single most important instruction in the entire recipe and the one most frequently ignored by home cooks who instinctively want a smooth, lump-free batter. Lumps in pancake batter are pockets of flour that have not fully hydrated — they dissolve during the brief resting period and during cooking without any negative effect on the finished pancake. Over-mixed batter develops gluten extensively and produces dense, flat, tough pancakes regardless of how good every other element of the recipe is.
- The first pancake is always a test pancake: Every experienced pancake maker knows that the first pancake out of any batch is almost never perfect — it is the pancake that calibrates the pan temperature, tells you whether the butter coating was sufficient, and reveals whether the heat needs adjusting upward or downward. Eat it yourself in the kitchen, adjust the heat as needed, and proceed with confidence knowing that every subsequent pancake will be better for the information the first one provided.
- Room temperature ingredients matter: Both the egg and the buttermilk should be at room temperature rather than cold from the refrigerator before mixing. Cold ingredients combine less smoothly, can cause the melted butter to seize and clump, and result in a batter that is less uniformly mixed than one made with ingredients all at a similar temperature. If time does not permit bringing ingredients to room temperature naturally, place the egg in a bowl of warm water for five minutes and microwave the buttermilk for fifteen to twenty seconds before using.
Frequently Asked Questions (FAQs)
Q1. Why are my pancakes flat instead of fluffy?
Flat pancakes are almost always the result of one of three issues: over-mixed batter that has developed too much gluten, expired or insufficient leavening agents, or batter that was cooked immediately without the recommended resting period. Check the expiration date on your baking powder — it loses its potency over time and old baking powder is a leading cause of flat pancakes. Mix the batter only until just combined, rest it for five minutes, and your pancakes will rise as intended.
Q2. Can I make the batter the night before?
You can refrigerate the batter overnight, but the results will be noticeably less fluffy than pancakes made from freshly mixed batter because the baking powder loses a significant portion of its leavening power over several hours in the refrigerator. A practical alternative is to mix and store the dry ingredients and wet ingredients separately overnight in the refrigerator, then combine them in the morning. This approach preserves the full leavening power and delivers pancakes that are indistinguishable from those made entirely fresh on the morning of serving.
Q3. What is the best substitute for buttermilk in this recipe?
The most effective substitute is to add one tablespoon of white vinegar or fresh lemon juice to a measuring cup, fill to the 1¼ cup line with whole milk, stir gently, and rest for five minutes. The acid causes the milk to curdle slightly and thicken, producing a reasonable approximation of buttermilk’s acidity and fat content. Plain yogurt thinned with a small amount of milk to the same consistency as buttermilk is another excellent alternative that produces particularly tender, flavorful pancakes with a slight richness from the yogurt’s fat content.
Q4. Can I make these pancakes gluten-free?
Yes, with one straightforward substitution. Replace the all-purpose flour with a good quality one-to-one gluten-free baking flour blend that contains xanthan gum — the xanthan gum replaces the structural role that gluten plays in standard flour and prevents the pancakes from crumbling or falling apart. Avoid single-ingredient gluten-free flours like almond flour or coconut flour alone as they behave very differently from wheat flour and require significant recipe reformulation beyond a simple substitution to produce acceptable results.
Conclusion
This easy pancake recipe is the kind of kitchen fundamental that rewards every home cook who takes the time to understand it properly — delivering consistently fluffy, golden, deeply satisfying pancakes through nothing more than good ingredients, a light hand with the mixing, and a properly heated pan, and proving that the best breakfast food in the world has always been hiding in plain sight inside the simplest recipe imaginable.


