Crème Brûlée Recipe – Silky Vanilla Custard with a Perfect Sugar Crack
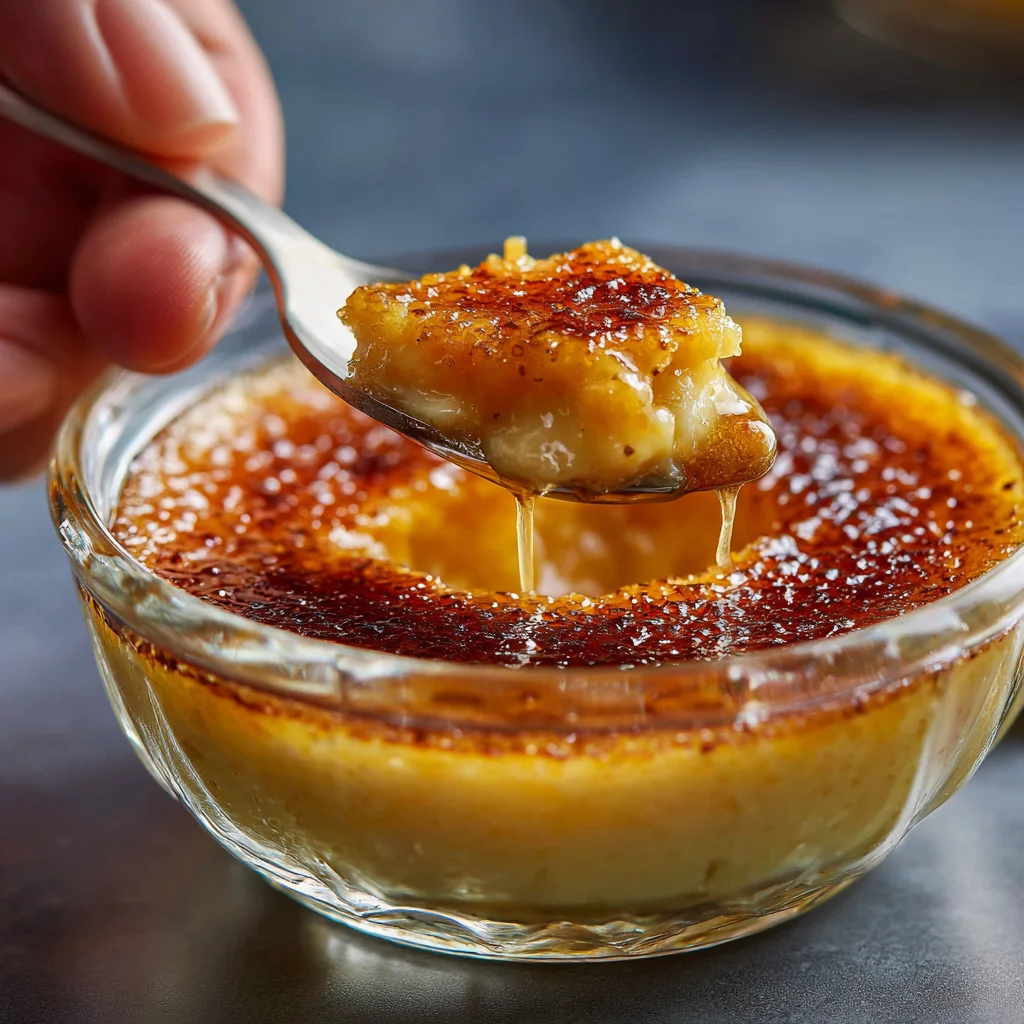
Let’s talk about one of the most iconic French desserts that feels fancy but is secretly super doable at home — crème brûlée. That crispy, caramelized sugar top you crack with a spoon, revealing rich vanilla custard underneath? It’s dessert magic. And making it yourself isn’t as intimidating as it sounds.
Honestly, it’s the kind of dessert that’ll make your guests think you went to culinary school. But all it takes is a few basic ingredients and a bit of patience.
If you’ve been curious about making your own homemade crème brûlée, this guide covers everything: from the silky base to that crisp sugar crust.
📝 Ingredients You’ll Need
Serves: 4–6
- 2 cups heavy cream
- 1 vanilla bean (or 1½ teaspoons pure vanilla extract)
- 5 large egg yolks
- ½ cup granulated sugar (for the custard)
- ¼ cup granulated sugar (for the topping)
- Pinch of salt
🔪 Step-by-Step Instructions
- Prep your oven:
Preheat to 325°F (160°C). Place 4 to 6 ramekins in a deep baking dish. You’ll be using a water bath (or bain-marie), which helps cook the custard gently. - Infuse the cream:
In a saucepan, heat the heavy cream and the split vanilla bean (seeds and pod) over medium heat until it just starts to steam — don’t boil it. If using vanilla extract, wait to add it until after heating. - Whisk the yolks and sugar:
In a mixing bowl, whisk the egg yolks, ½ cup sugar, and a tiny pinch of salt until the mixture is pale and slightly thickened. - Temper the eggs:
Slowly pour the warm cream into the yolk mixture while whisking constantly. This keeps the eggs from scrambling. - Strain and pour:
Strain the mixture through a fine mesh sieve for extra-smooth custard. Then pour into ramekins, dividing evenly. - Create the water bath:
Carefully pour hot water into the baking dish until it comes about halfway up the sides of the ramekins. - Bake:
Bake for 30–35 minutes, or until the edges are set and the centers still jiggle slightly. Don’t overbake — they’ll continue to set as they cool. - Cool and chill:
Let them cool at room temp, then cover and refrigerate for at least 2 hours (or overnight if you’re planning ahead). - Torch and serve:
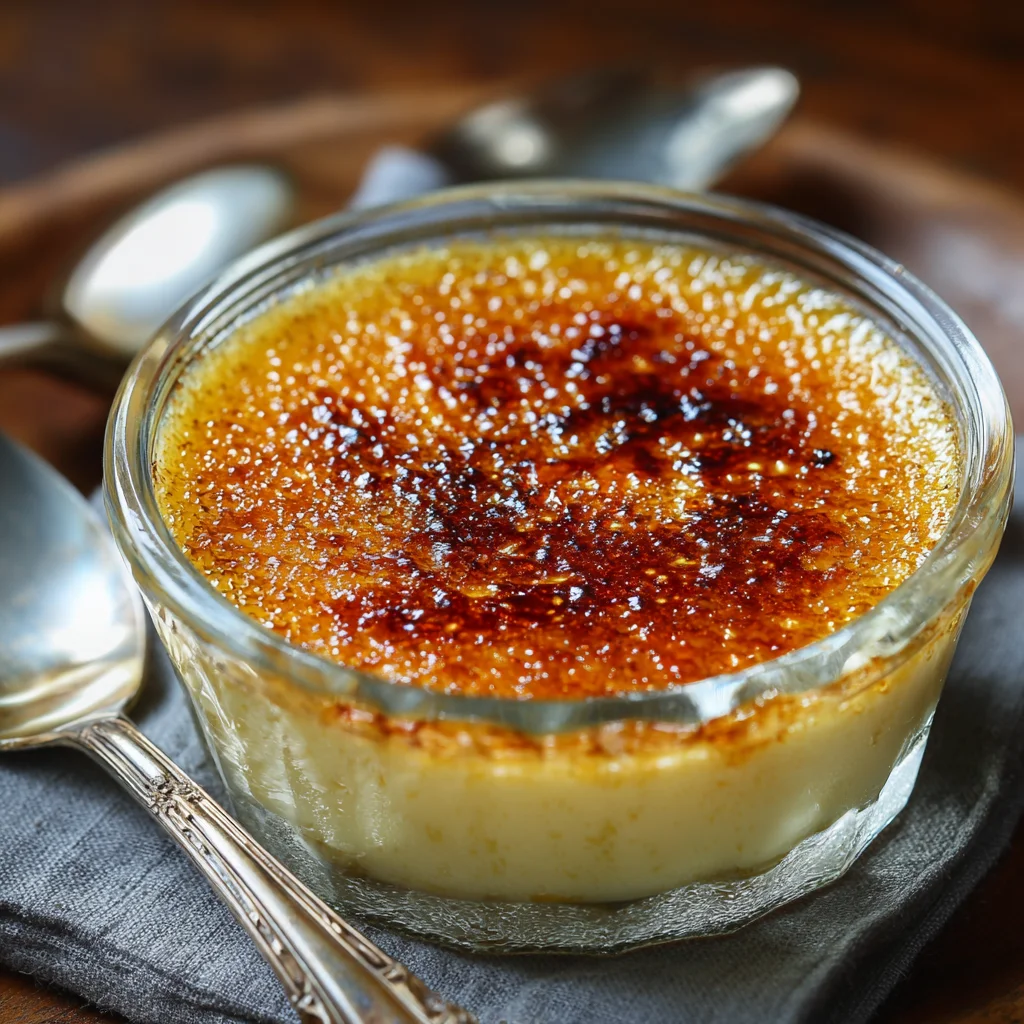
Just before serving, sprinkle about a teaspoon of sugar on top of each custard. Use a kitchen torch to melt and caramelize the sugar until golden and crisp. Let it sit for a minute before digging in.
⏱️ Time & Servings
- Prep Time: 15 minutes
- Bake Time: 35 minutes
- Chill Time: 2+ hours
- Total Time: ~3 hours (mostly chilling)
- Serves: 4–6 ramekins
📦 Storage Tips
Refrigerator:
Crème brûlée can be made a day or two in advance. Store the custards covered (without the sugar topping) in the fridge for up to 3 days.
Do Not Freeze:
The custard texture changes dramatically once frozen — it’s just not worth it.
Torching tip:
Only add the caramelized sugar top right before serving to keep that signature crack.
🧮 Nutrition Breakdown (Per Serving – Approximate)
| Nutrient | Amount |
| Calories | ~290 kcal |
| Fat | 24g |
| Carbohydrates | 15g |
| Protein | 4g |
| Sugar | 14g |
| Fiber | 0g |
| Sodium | 30mg |
Low in carbs, indulgent in fat, and totally worth it.
🧰 Kitchen Tools You’ll Need
- Saucepan
- Whisk
- Fine mesh strainer
- Ramekins (4–6)
- Deep baking dish (for water bath)
- Blowtorch (for caramelizing)
- Mixing bowls
- Ladle or measuring cup (for pouring)
You don’t need fancy equipment — though a kitchen torch does make it feel pretty fun.
🍽️ How to Serve Crème Brûlée
- Serve chilled with the caramelized sugar crust freshly torched.
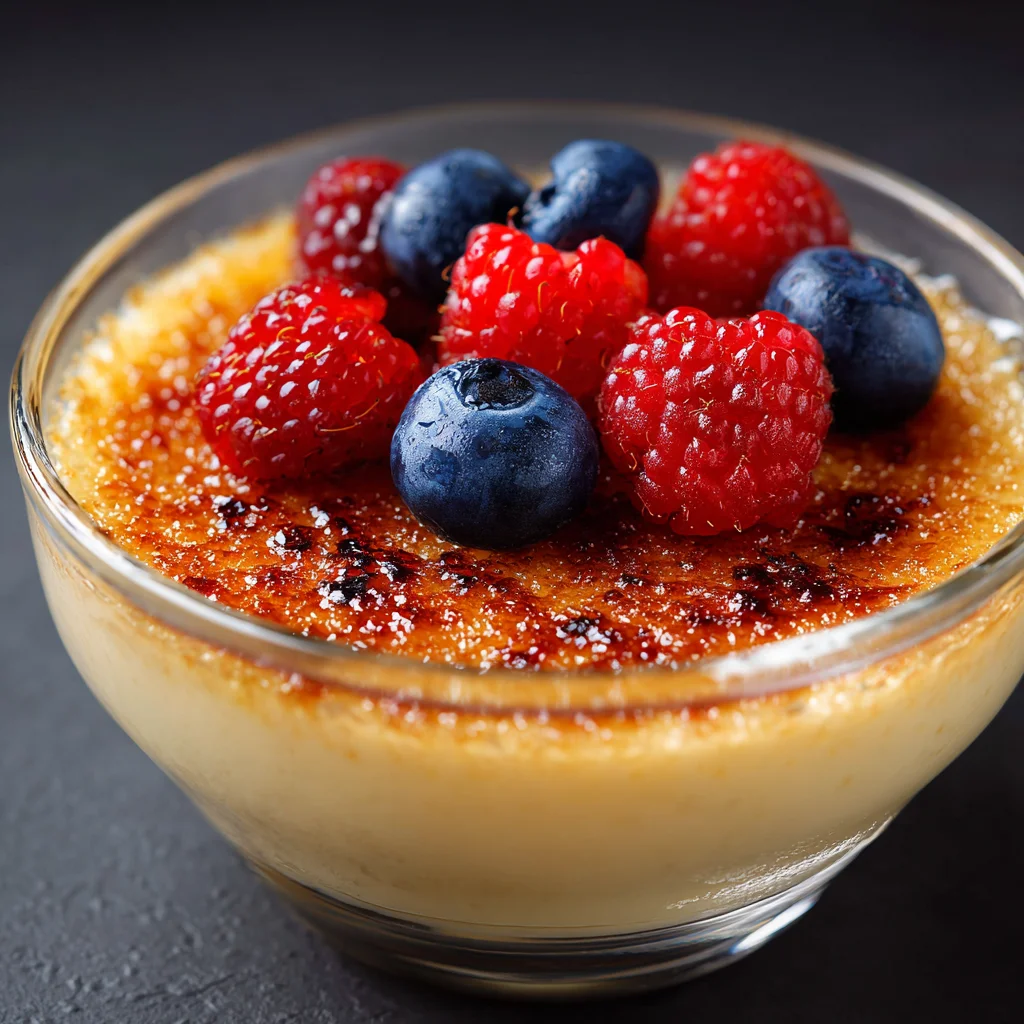
- Top with a few fresh berries or a mint leaf for a simple garnish.
- It pairs beautifully with coffee, espresso, or even a small dessert wine.
It’s an elegant ending to dinner without needing a towering cake or layered dessert.
✨ Extra Tips to Make It Perfect
- Don’t skip the straining step. It makes a difference in texture.
- Use full-fat cream. This isn’t the time to go light.
- Keep the torch moving. Stay in motion while caramelizing the sugar so it doesn’t burn.
- Room temp yolks mix better. If your eggs are cold, just let them sit out for 10–15 minutes.