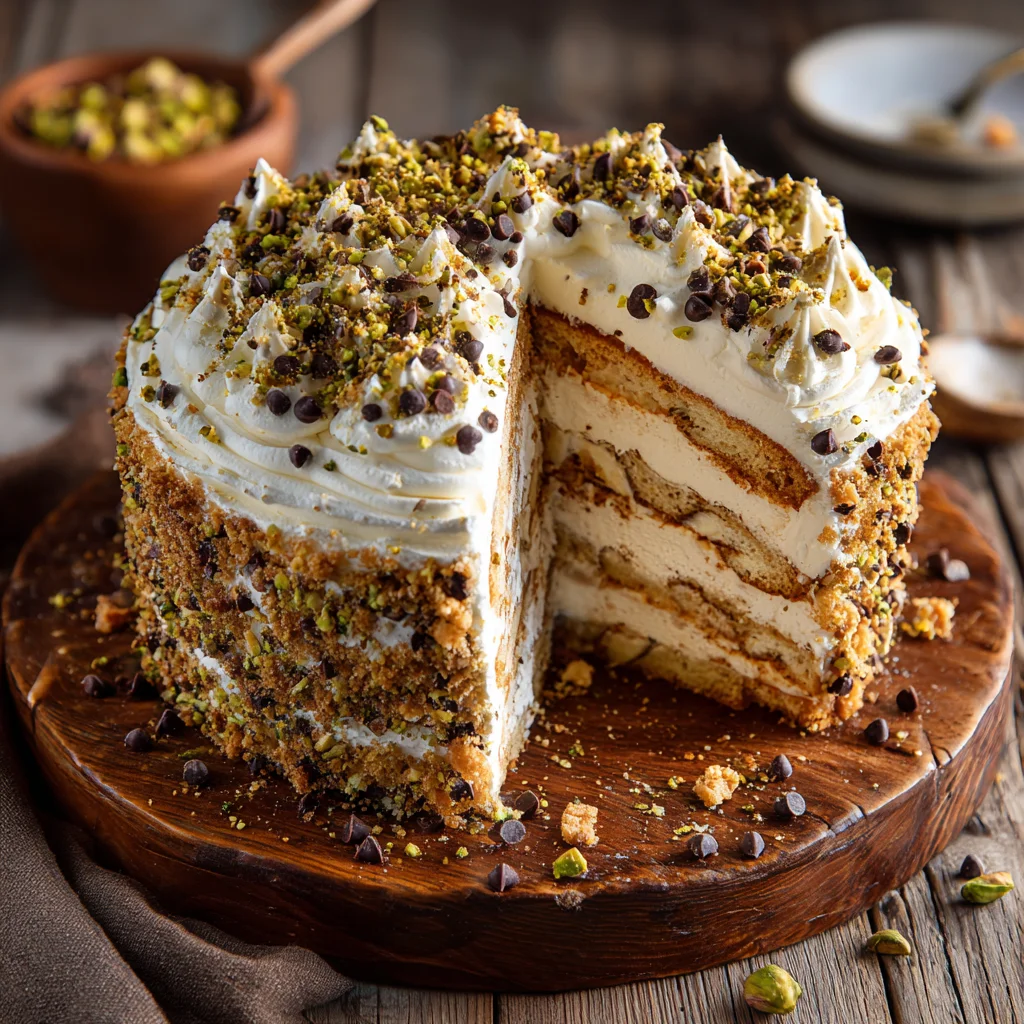
🍰 Decadent Cannoli Cake Recipe – Creamy Layers of Italian Sweetness
If you love classic Italian desserts, this Decadent Cannoli Cake recipe will steal your heart. It takes everything you adore about traditional cannoli — creamy ricotta, chocolate chips, and a hint of citrus — and turns it into a show-stopping cake. Each bite tastes like the best of Sicily in dessert form — rich, fluffy, and just sweet enough to make you smile.
You don’t need to be a pro baker to make this cake. It’s all about simple steps, basic tools, and a bit of love. Let’s go through everything you need for this creamy masterpiece.

🕒 Time & Servings
| Prep Time | Cook Time | Cooling Time | Total Time | Servings |
|---|---|---|---|---|
| 30 mins | 30 mins | 60 mins | 2 hrs | 10–12 slices |
🧈 Ingredients
| Ingredient | Quantity |
|---|---|
| All-purpose flour | 2 ½ cups |
| Baking powder | 2 ½ tsp |
| Salt | ½ tsp |
| Unsalted butter (softened) | ¾ cup |
| Sugar | 1 ¾ cups |
| Eggs | 4 |
| Vanilla extract | 1 tsp |
| Whole milk | 1 cup |
| Ricotta cheese (whole-milk) | 1 ½ cups |
| Mascarpone cheese | ½ cup |
| Powdered sugar | 1 cup |
| Orange zest | 1 tsp |
| Mini chocolate chips | ½ cup |
| Heavy cream (for frosting) | ¾ cup |
| Crushed cannoli shells or waffle cones | ½ cup (for topping) |
| Pistachios (optional, chopped) | 2 tbsp |
👩🍳 Step-by-Step Guide to Make Cannoli Cake
Step 1: Prep Your Pans
Grease and flour two 8-inch round cake pans. Line them with parchment paper if you have it — it helps remove the cakes easily. Preheat your oven to 350°F (175°C).
Step 2: Mix the Dry Ingredients
In a medium bowl, whisk together flour, baking powder, and salt. This helps the cake rise evenly.
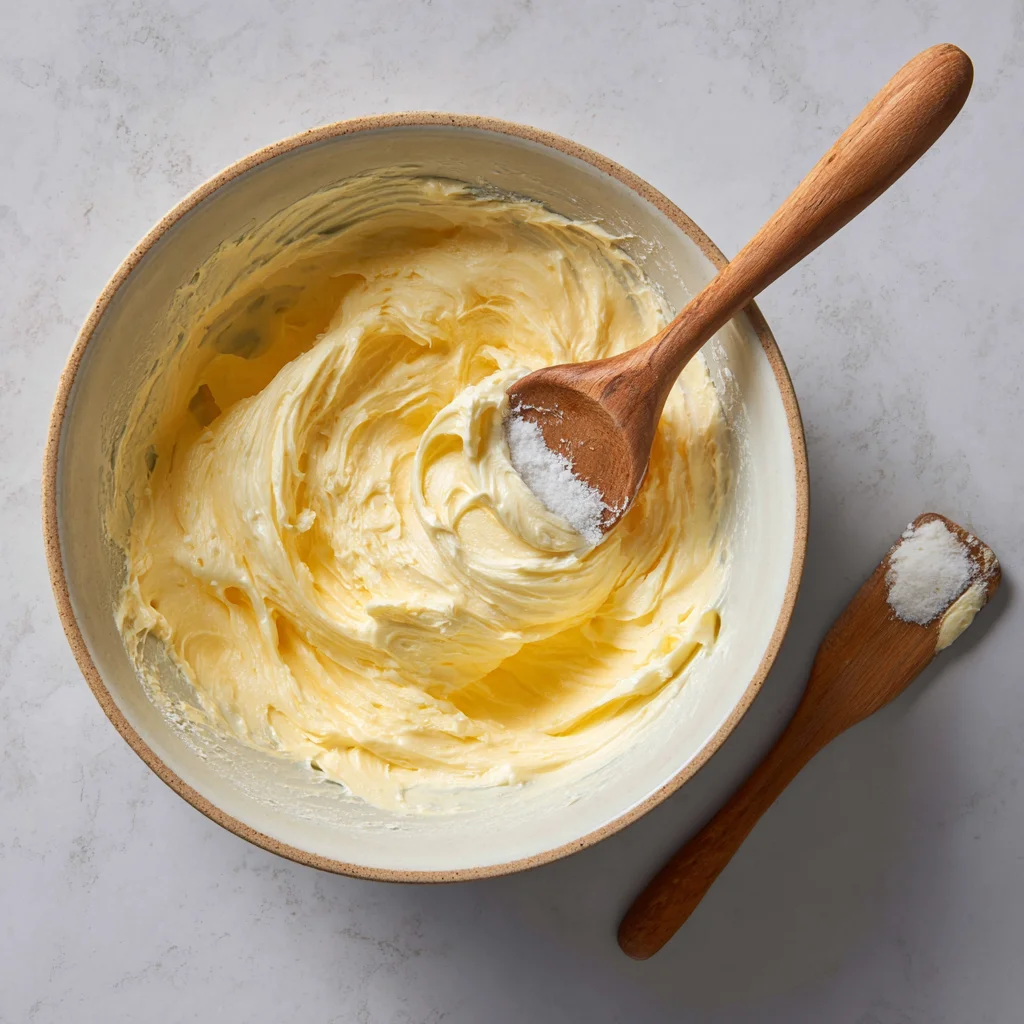
Step 3: Cream Butter and Sugar
In a large bowl, beat butter and sugar together until light and fluffy. This step gives your cake that soft bakery texture. Add eggs one at a time, mixing after each addition. Then stir in vanilla extract.
Step 4: Combine Wet and Dry
Add the flour mixture in three parts, alternating with milk. Mix gently after each addition until smooth. Don’t overmix — it makes the cake dense.
Step 5: Bake the Cakes
Divide the batter between the two pans and bake for about 25–30 minutes. When a toothpick comes out clean, they’re done. Cool completely before frosting.
Step 6: Make the Cannoli Filling
In another bowl, mix ricotta, mascarpone, powdered sugar, and orange zest until creamy. Fold in mini chocolate chips. Taste it — it should feel light, sweet, and slightly citrusy.

Step 7: Assemble the Cake
Spread half of the filling on the first cake layer. Place the second cake on top and spread the remaining filling over the top and sides.
Step 8: Frost with Whipped Cream
Whip heavy cream until stiff peaks form. Spread it gently over the cake for a soft, cloud-like finish.
Step 9: Add Crunch & Chill
Sprinkle crushed cannoli shells, pistachios, or extra chocolate chips on top. Chill the cake for at least 1 hour before serving — it helps flavors come together beautifully.
🍴 Serving Suggestions
This cake shines best as a dessert after lunch or evening coffee treat.
Here are some pairings to make it even better:
- A cup of espresso or cappuccino ☕
- A scoop of vanilla gelato for extra richness 🍨
- A few fresh strawberries or orange slices on the side 🍓
- For a complete Italian lunch dessert combo, try this Grilled Chicken Cobb Salad with Honey Dijon dressing first — then reward yourself with a slice of Cannoli Cake.
🧂 Recipe Notes
- Use whole-milk ricotta for a smooth texture.
- Chill the ricotta overnight in the fridge to remove extra moisture.
- Add a teaspoon of amaretto or coffee liqueur to the filling for a grown-up flavor.
- Always chill the cake before slicing — it holds better.
🧊 Storage & Reheating
You can keep this cake covered in the fridge for up to 4 days.
If you want to freeze it:
- Wrap slices individually in plastic wrap and store for up to 1 month.
- Thaw in the refrigerator overnight.
This cake doesn’t need reheating, but you can let it sit at room temperature for 20 minutes before serving for the best flavor.

⚖️ Nutrition (Per Serving)
| Nutrient | Amount |
|---|---|
| Calories | 390 kcal |
| Protein | 8 g |
| Carbohydrates | 40 g |
| Sugar | 28 g |
| Fat | 22 g |
| Saturated Fat | 12 g |
| Sodium | 170 mg |
| Calcium | 120 mg |
🛠️ Kitchen Tools Needed
- 2 Round cake pans (8-inch)
- Mixing bowls
- Hand mixer or stand mixer
- Rubber spatula
- Cooling rack
- Whisk
- Measuring cups and spoons
💡 Extra Tips to Make It Perfect
- Use fresh ricotta, not the grainy kind. Drain well for the best texture.
- If your frosting feels too soft, chill it for 15 minutes before spreading.
- Don’t skip the orange zest — it gives that real cannoli flavor.
- Add crushed shells right before serving to keep them crispy.

🥗 Health Benefits
Okay, it’s dessert, but not all bad! Ricotta adds calcium and protein, mascarpone brings healthy fats, and homemade versions mean less processed sugar. Using dark chocolate chips instead of milk chocolate also adds antioxidants.
So yes — enjoy a slice guilt-free once in a while.
🚫 Common Mistakes to Avoid
- Using wet ricotta: It will make the filling runny. Drain it well.
- Skipping cooling time: Warm cake melts the filling. Always let it cool.
- Over-whipping cream: It turns grainy quickly, so stop when peaks form.
- Not leveling cakes: Uneven layers make frosting harder. Trim if needed.
🧠 FAQs About Cannoli Cake
1. Can I make Cannoli Cake ahead of time?
Yes, you can make it a day early. Store it in the fridge covered with plastic wrap.
2. Can I use store-bought ricotta filling?
You can, but homemade tastes much fresher and creamier.
3. What can I use instead of mascarpone?
Cream cheese works fine — just use a bit less sugar.
4. Can I make this cake gluten-free?
Yes, swap the flour with any 1:1 gluten-free baking mix.
5. How long should the cake chill before serving?
At least one hour, but two is even better for firm layers.

✨ Final Thoughts
This Decadent Cannoli Cake brings Italian bakery flavors right into your kitchen. It’s rich, creamy, and layered with the kind of sweetness that feels comforting. Whether it’s for Sunday lunch or a celebration, this cake adds joy to any table. You might even find yourself making it again before the week ends — it’s that good.