Italian Easter Cookies Recipe: A Sweet Tradition for the Holiday
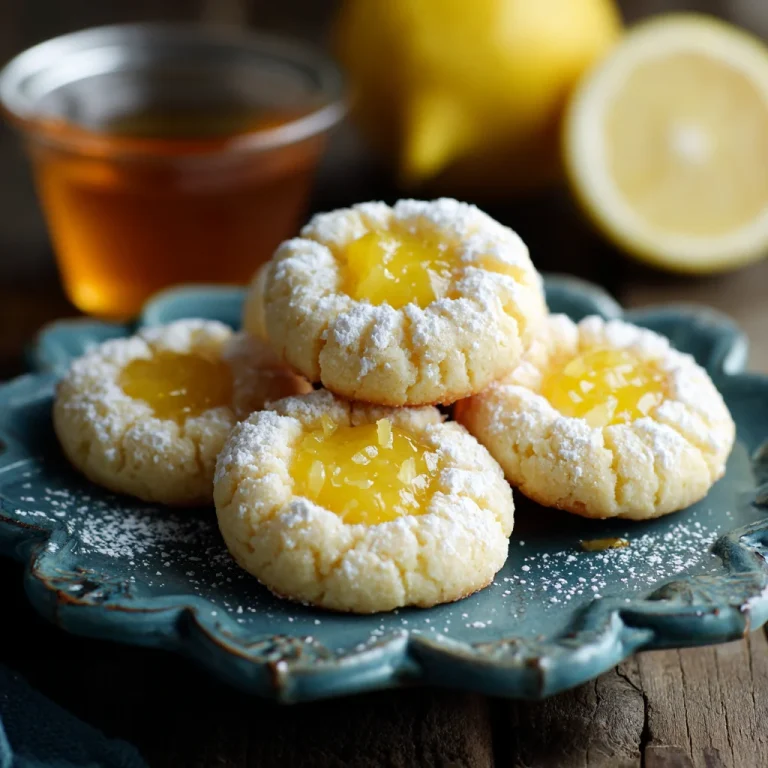
Italian Easter Cookies are a beloved tradition in many Italian-American families. These cookies, with their soft, sweet texture and vibrant colors, are a staple during Easter celebrations. Known for their unique shape and delightful lemon flavor, they bring a touch of sweetness and joy to the table. Whether you’re looking to recreate this cherished treat for your family or introduce it to your friends, this Italian Easter Cookies recipe will guide you every step of the way.

Ingredients:
- 2 ¾ cups all-purpose flour
- 1 cup sugar
- 2 tsp baking powder
- ½ tsp salt
- 1 stick unsalted butter (softened)
- 3 large eggs
- 1 tsp vanilla extract
- 1 tsp lemon extract
- 2 tbsp lemon zest (freshly grated)
- 1 tbsp milk (more if needed)
- Sprinkles or colored sugar (for topping)
For the Glaze:
- 1 ½ cups powdered sugar
- 1 tbsp milk
- 1 tsp vanilla extract
- A pinch of lemon zest (optional for added flavor)
Step-by-Step Instructions:
- Preheat the Oven: Start by preheating your oven to 350°F (175°C). Line a baking sheet with parchment paper to ensure the cookies don’t stick during baking.
- Mix Dry Ingredients: In a medium bowl, whisk together the flour, sugar, baking powder, and salt. Set aside.
- Cream Butter and Eggs: In a large mixing bowl, beat the softened butter until creamy. Add the eggs one at a time, beating well after each addition. Stir in the vanilla extract, lemon extract, and fresh lemon zest until well incorporated.
- Combine the Mixtures: Gradually add the dry ingredients into the wet mixture, mixing until the dough comes together. If the dough feels too dry, add a tablespoon of milk to bring it together.
- Shape the Cookies: Take small portions of the dough (about 1 tablespoon) and roll them into balls. Then, shape each ball into a twist, figure-eight, or circle. Place them onto the prepared baking sheet, spacing them about 2 inches apart.
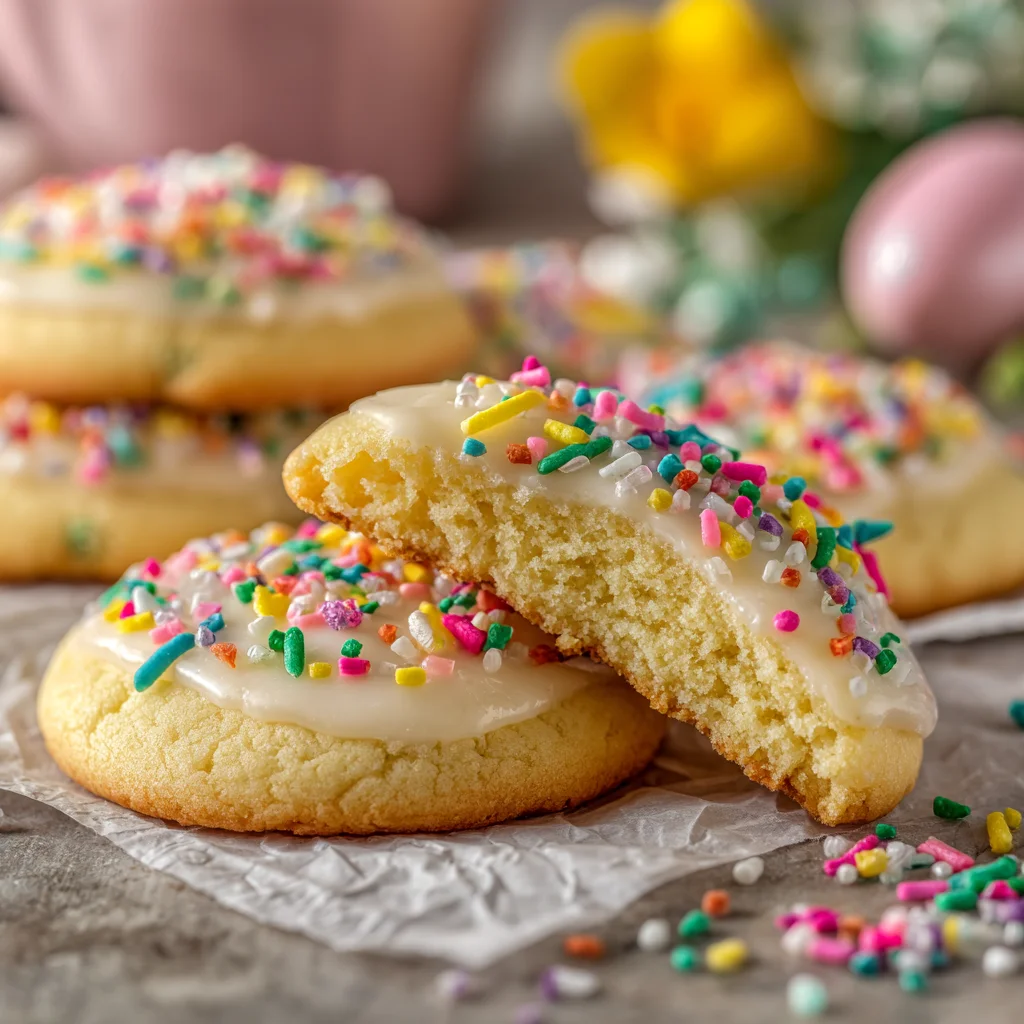
- Bake the Cookies: Bake for 10-12 minutes, or until the edges of the cookies are slightly golden. The cookies will be soft in the center, which is perfect for the chewy texture.
- Prepare the Glaze: While the cookies are baking, whisk together the powdered sugar, milk, vanilla extract, and a pinch of lemon zest for the glaze. If the glaze is too thick, add more milk until it reaches a drizzly consistency.
- Glaze the Cookies: Once the cookies are out of the oven and cooled slightly, drizzle the glaze over the top of each cookie. You can use a spoon or pour it into a small piping bag for a more controlled application.
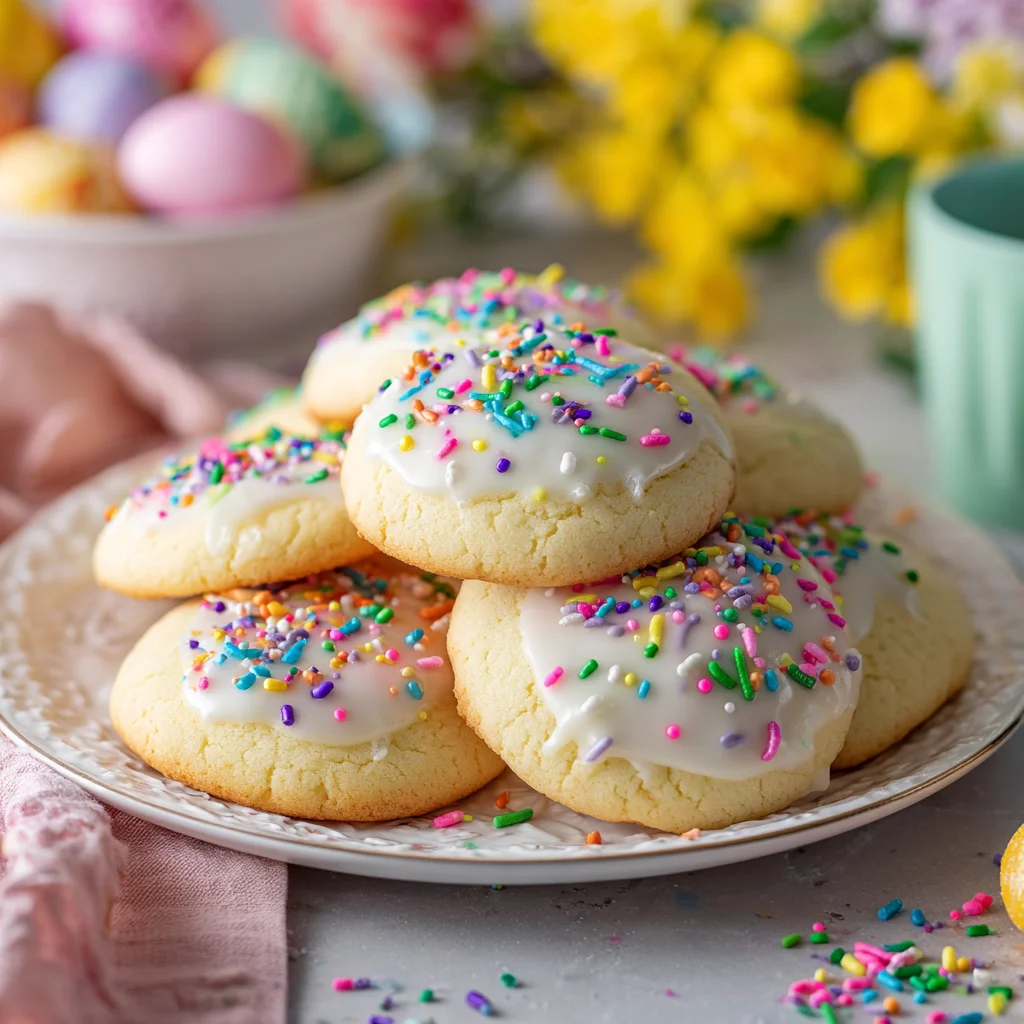
- Decorate: Top the glazed cookies with colorful sprinkles or colored sugar. This is where you can get creative—use a mix of pastel colors for a festive Easter look!
Recipe Notes:
- Consistency of Dough: If your dough is too sticky to work with, add a little more flour. If it’s too dry, add a tiny bit more milk.
- Flavor Variations: You can swap out the lemon zest for orange zest for a slightly different citrus flavor.
- Extra Toppings: For extra flavor, you can dip the cookies into a bit of melted chocolate or sprinkle them with cinnamon sugar before baking.
Time and Serving:
- Prep Time: 20 minutes
- Cook Time: 10-12 minutes
- Total Time: 30-35 minutes
- Servings: This recipe makes approximately 24 cookies, depending on the size.
Storage Tips:
- How to store: Once the cookies are glazed, allow them to cool completely before storing them in an airtight container. They will keep for about 1 week at room temperature.
- Freezing: These cookies freeze wonderfully! You can freeze the dough before baking or the baked cookies without glaze. Just wrap the cookies tightly and store them in a freezer bag for up to 3 months. When ready to enjoy, thaw them and glaze them.
Nutrition Breakdown (Per Serving – 1 Cookie):
- Calories: 130
- Fat: 4g
- Carbs: 20g
- Protein: 2g
- Sugar: 10g
- Fiber: 1g
Note: Nutritional values are approximate and may vary based on ingredient choices.
Extra Tips for Perfect Italian Easter Cookies:
- Don’t overbake: These cookies are soft in the middle, so be careful not to overbake them. Keep an eye on the edges to ensure they are just lightly golden.
- Make them festive: For an extra fun touch, you can dye the sprinkles or sugar to match your Easter theme.
- Shape variation: Feel free to experiment with different shapes—twists, spirals, or even simple round shapes for a more traditional look.
How to Serve:
These Italian Easter Cookies are perfect for sharing with family and friends during the holiday. Serve them alongside a cup of coffee or tea for a delicious treat after Easter dinner. They also make great gifts—just pack them in a cute box or jar, and you’re good to go!
Kitchen Tools Needed:
- Mixing bowls: For combining dry and wet ingredients.
- Electric mixer: To cream the butter and eggs together.
- Baking sheet: For baking the cookies.
- Parchment paper: To prevent sticking and make cleanup easy.
- Whisk: To mix the glaze smoothly.
- Small spoon or piping bag: For glazing the cookies.
FAQs:
1. Can I make these cookies gluten-free?
Yes, you can easily make these cookies gluten-free by swapping the regular flour with a gluten-free all-purpose flour blend.
2. Can I skip the glaze?
Sure! If you prefer, you can skip the glaze and enjoy the cookies without it. They will still be delicious and festive with the sprinkles on top.
3. How long do these cookies last?
These cookies stay fresh for about a week when stored in an airtight container. You can also freeze them for up to three months.
4. Can I add nuts or chocolate chips to the dough?
Absolutely! You can add chopped walnuts, almonds, or even chocolate chips for an extra layer of flavor and texture.
Final Thoughts:
Italian Easter Cookies are more than just a sweet treat—they’re a little piece of tradition that brings warmth, color, and joy to the holiday table. Soft, tender, and lightly flavored with citrus, they’re the kind of cookie that feels both festive and comforting, especially when topped with pastel sprinkles and glaze. Whether you’re carrying on a family tradition or starting a new one, these cookies are a fun way to celebrate Easter with loved ones. They’re easy to make, perfect for sharing, and just as delightful to gift as they are to enjoy with a cup of coffee or tea.