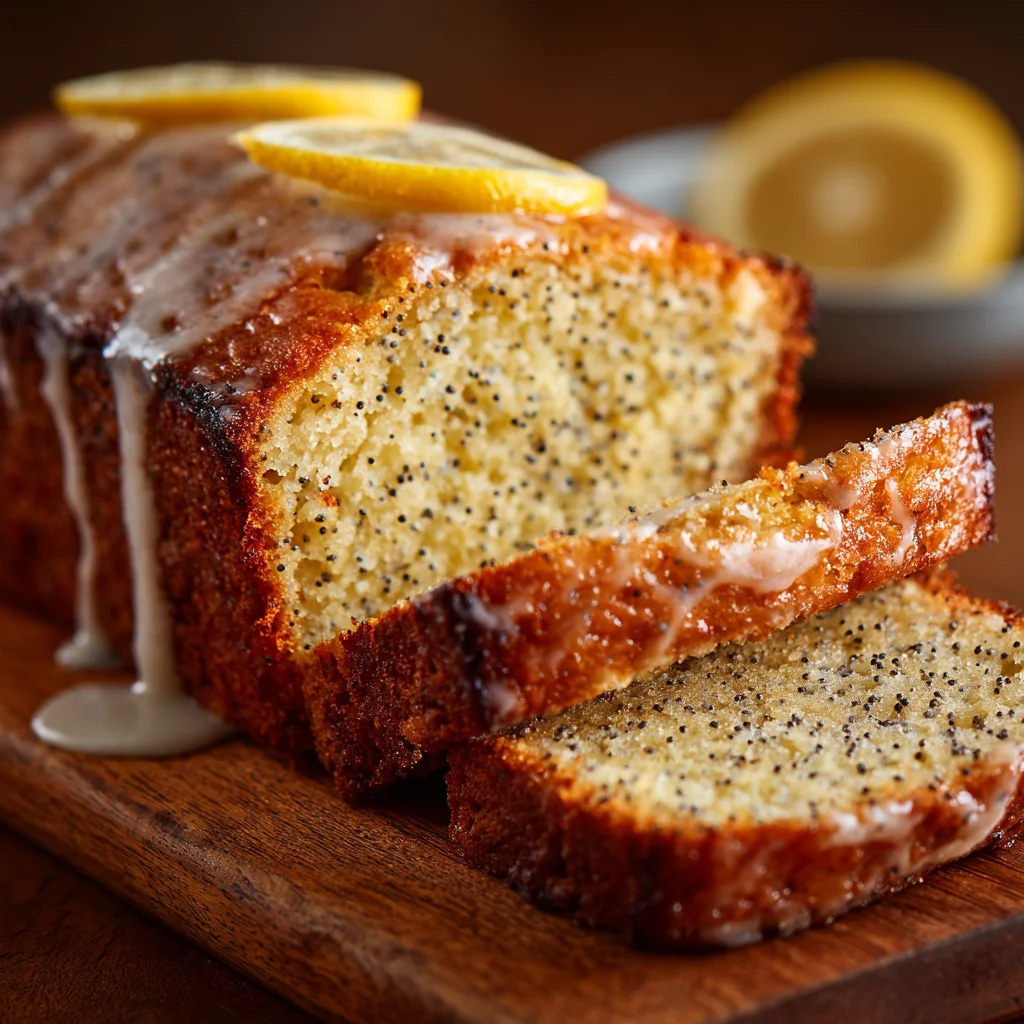
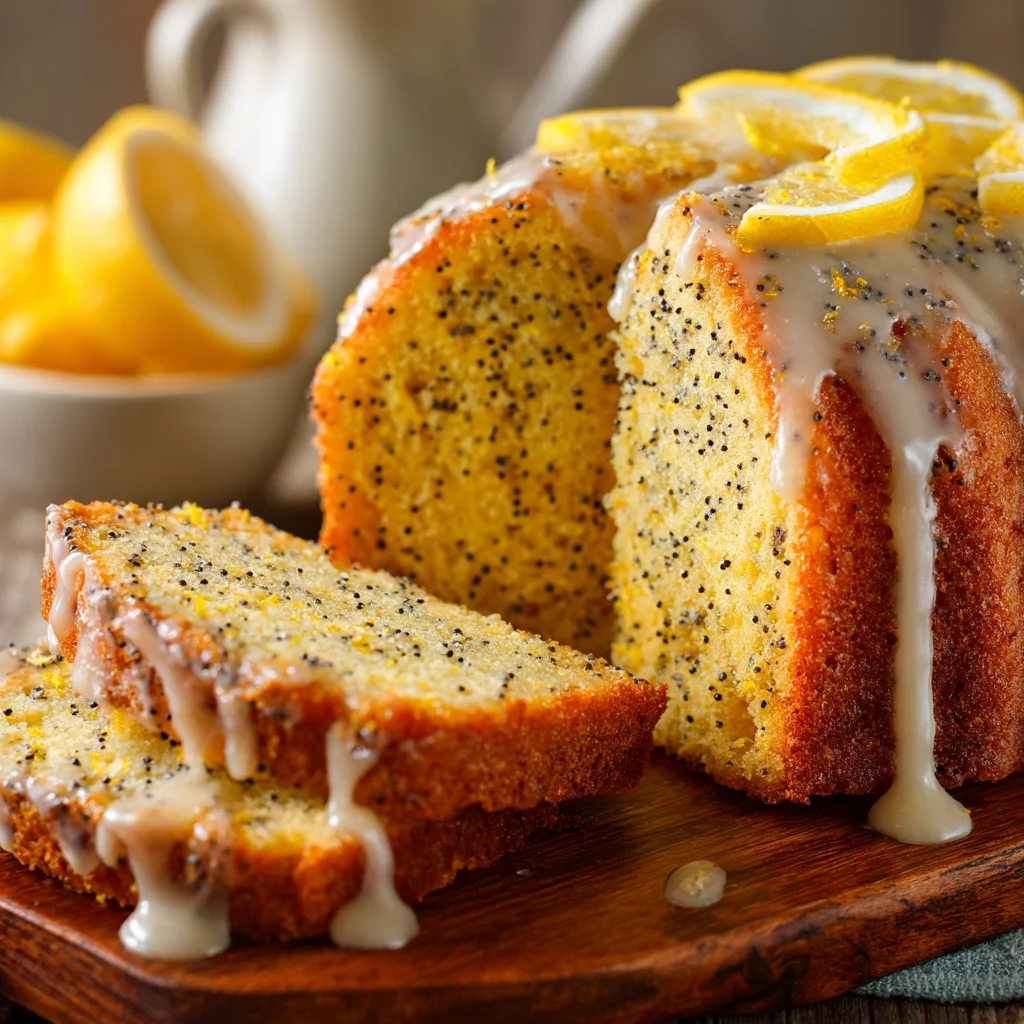
Best Moist Lemon Poppy Seed Cake Recipe: A Zesty and Refreshing Dessert 🍋
If you’re in the mood for something light, moist, and bursting with fresh citrus flavor, this Lemon Poppy Seed Cake recipe is the one for you! With a tender crumb, tangy lemon zest, and a subtle crunch from the poppy seeds, this cake is the perfect balance of sweet and refreshing. Whether you’re preparing for a cozy afternoon treat or a celebratory event, this cake will surely impress.
Let’s walk through this Lemon Poppy Seed Cake recipe, step by step, to create a dessert that’s as delightful to make as it is to eat.
🔥 Why You’ll Love This Recipe
- Incredibly Moist: The sour cream ensures the cake never turns out dry.
- Bursting with Flavor: We use both fresh juice and zest for a real punch.
- Perfect Texture: A soft, tender crumb with a signature poppy seed crunch.
- Easy Cleanup: You only need a few bowls and a standard cake pan.
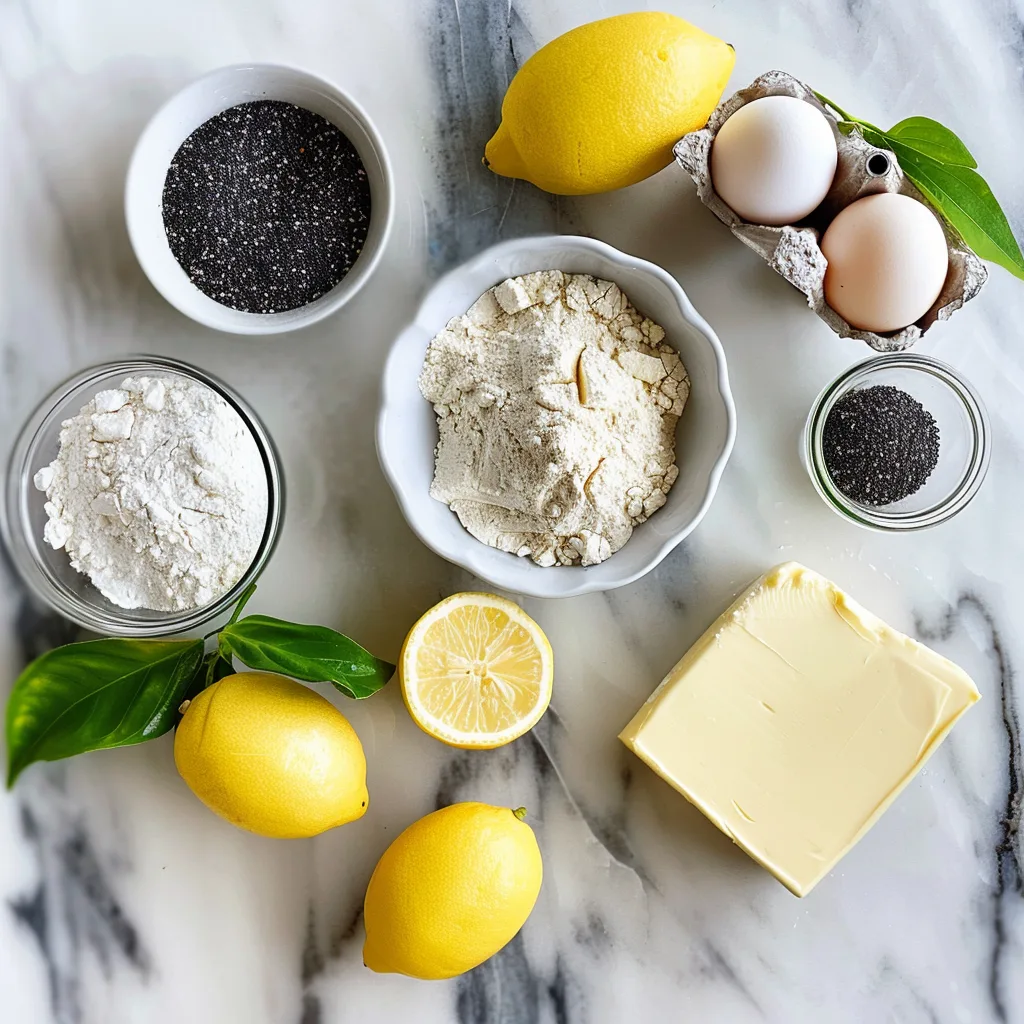
Ingredients:
For the cake:
- 1 ½ cups all-purpose flour
- 1 ½ teaspoons baking powder
- ¼ teaspoon salt
- 3 large eggs
- 1 cup granulated sugar
- 1 cup sour cream (room temperature)
- ½ cup unsalted butter, softened
- 1 tablespoon lemon zest (from about 2 lemons)
- ¼ cup fresh lemon juice (from 2 lemons)
- 2 tablespoons poppy seeds
- 1 teaspoon vanilla extract
For the glaze:
- 1 cup powdered sugar
- 1 tablespoon lemon juice
- 1 tablespoon water (or more for desired consistency)
Instructions:
Step 1: Preheat and Prepare
Preheat your oven to 350°F (175°C). Grease a 9-inch round cake pan or a bundt pan and lightly dust it with flour, or you can line the bottom with parchment paper for easy removal. Set it aside.
Step 2: Mix Dry Ingredients
In a medium bowl, whisk together the flour, baking powder, and salt. Set aside while you prepare the wet ingredients.
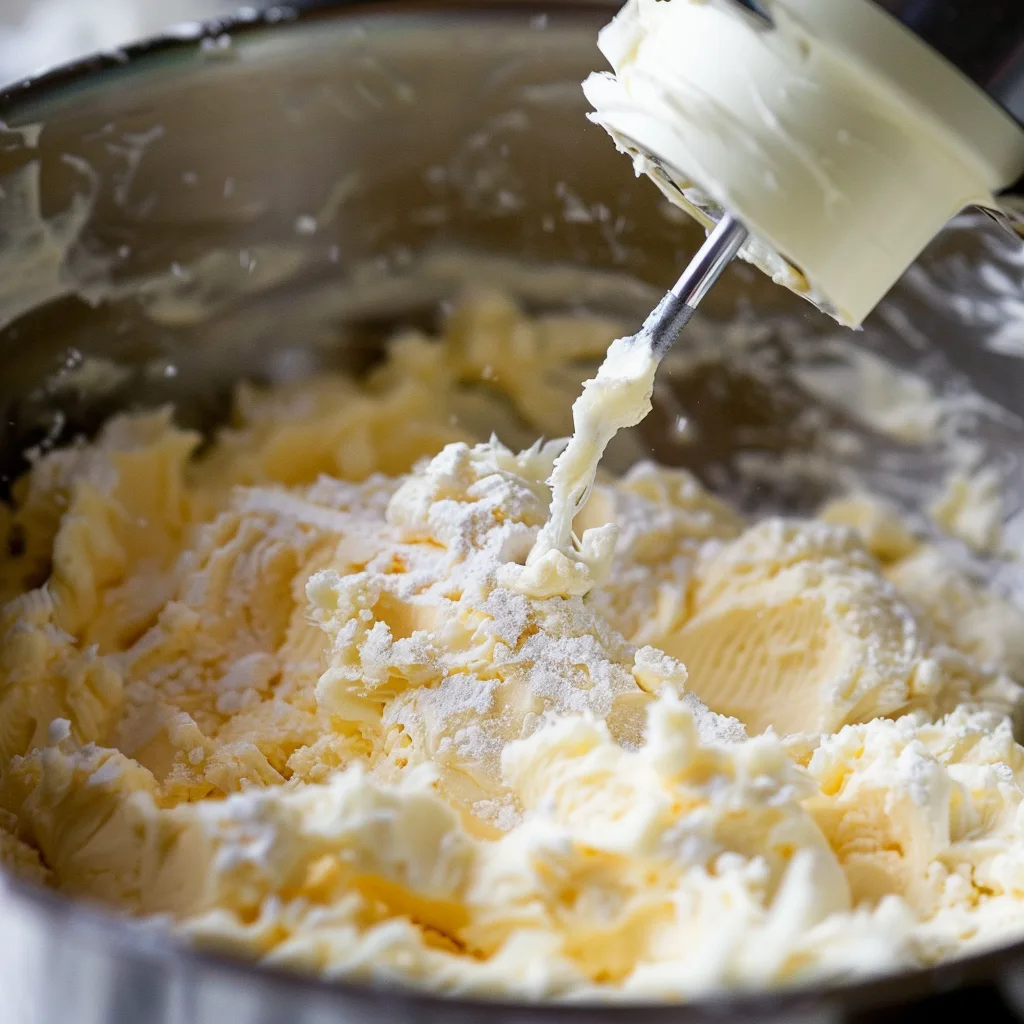
Step 3: Prepare Wet Ingredients
In a large mixing bowl, beat the softened butter and sugar together using an electric mixer on medium speed. Cream the butter and sugar until it becomes light and fluffy, which will take about 3-5 minutes. Add the eggs, one at a time, beating well after each addition. Stir in the sour cream, lemon zest, lemon juice, and vanilla extract. Mix until smooth.
Step 4: Combine the Dry and Wet Ingredients
Gradually add the dry ingredients to the wet mixture. Mix gently with a spatula or low-speed mixer to combine. Don’t overmix, just until the flour disappears. Fold in the poppy seeds. The batter should be thick, smooth, and slightly sticky.
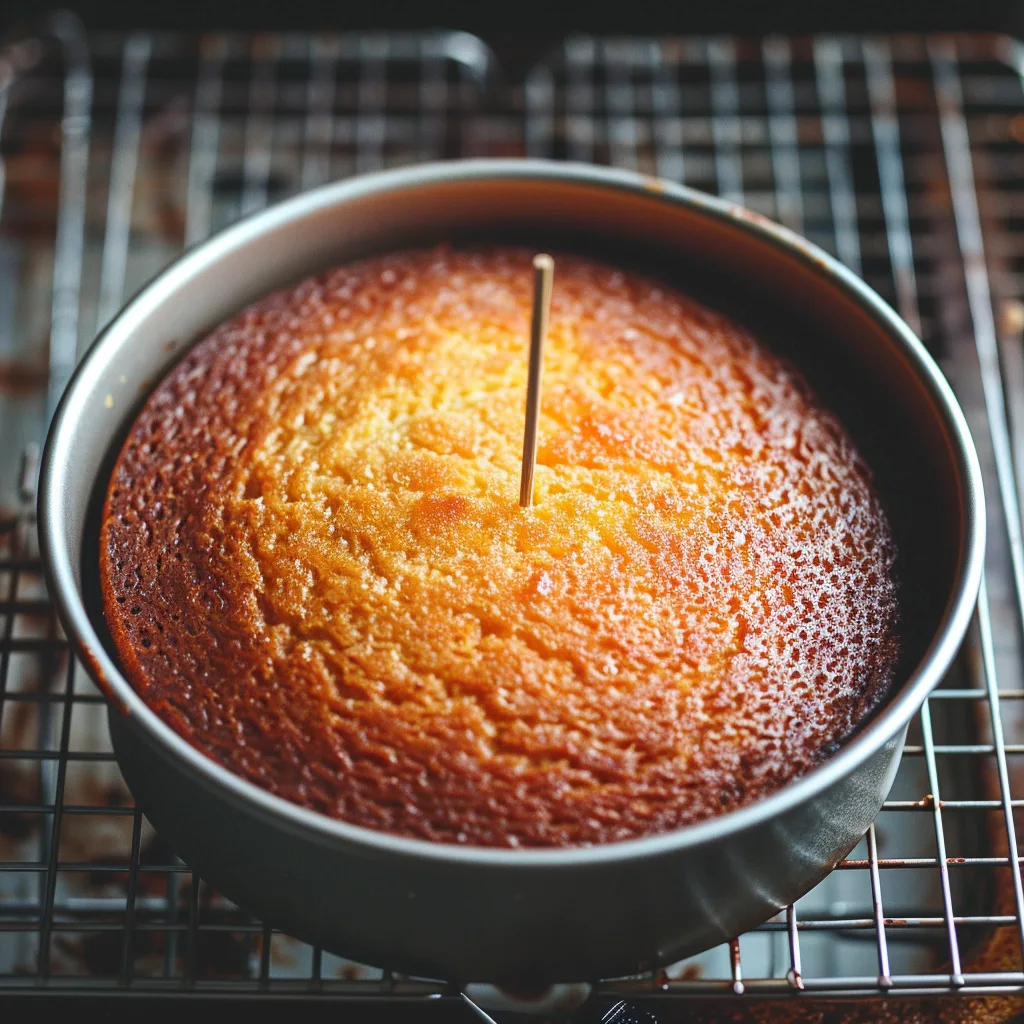
Step 5: Bake the Cake
Pour the batter into your prepared pan and spread it out evenly. Bake for 30-40 minutes or until a toothpick inserted into the center comes out clean or with a few moist crumbs. If you’re using a bundt pan, it may take a bit longer (about 45 minutes). Once done, remove the cake from the oven and allow it to cool in the pan for 10 minutes. Afterward, turn it out onto a wire rack to cool completely.
Step 6: Prepare the Glaze
While the cake is cooling, prepare the glaze. In a small bowl, combine the powdered sugar and lemon juice. Stir in water a teaspoon at a time until the glaze reaches your desired consistency—smooth and pourable, but not too runny.
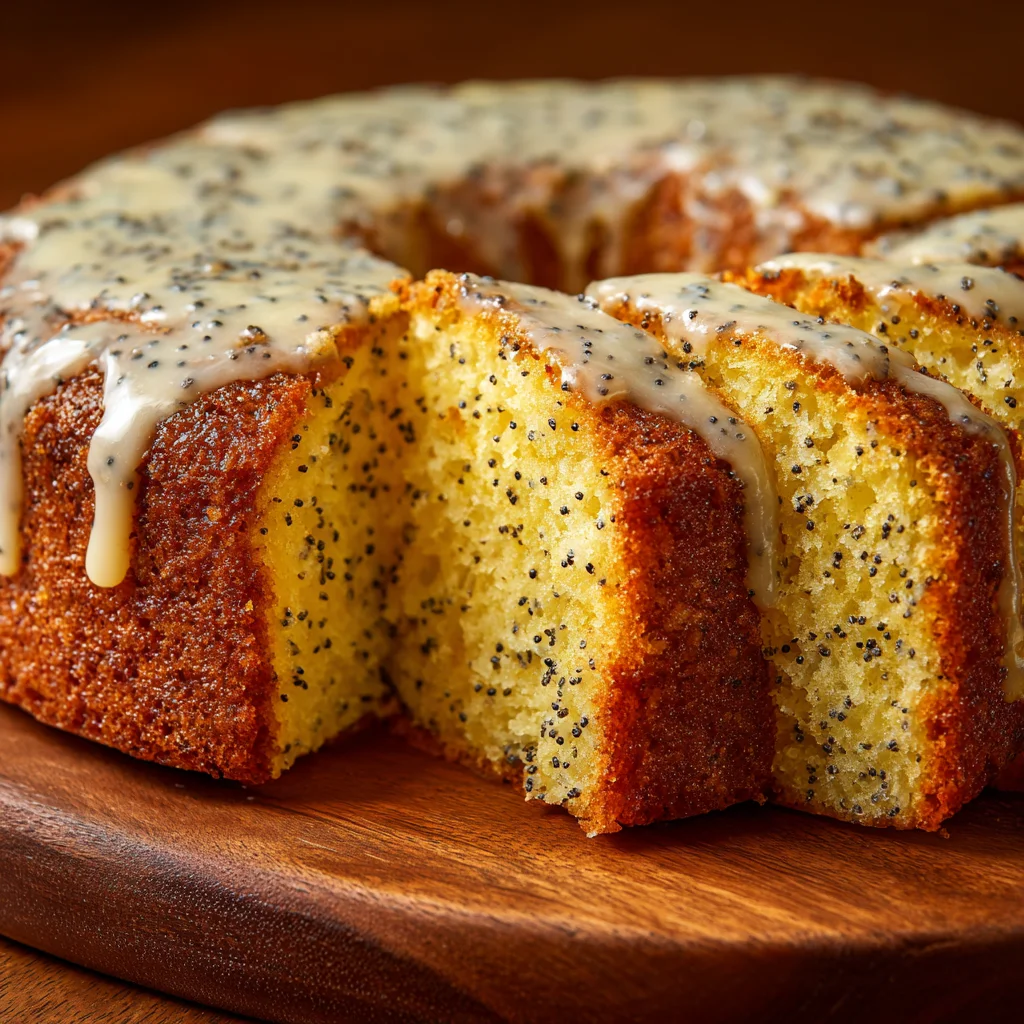
Step 7: Glaze the Cake
Once the cake has cooled completely, drizzle the glaze over the top. Let the glaze drip down the sides, adding a glossy, zesty finish to the cake.
Recipe Notes:
| Note | Suggestion |
| No Sour Cream? | Use plain Greek yogurt instead. It works perfectly. |
| Extra Lemon? | Brush the warm cake with a mix of lemon juice and sugar before glazing. |
| Poppy Seeds | If you don’t like them, you can swap them for chia seeds or leave them out. |
Time and Serving:
- Prep Time: 15 minutes
- Bake Time: 30-40 minutes (depending on pan size)
- Cooling Time: 30 minutes
- Total Time: 1 hour 30 minutes
- Serving Size: This recipe serves 8-10 people, depending on slice size.
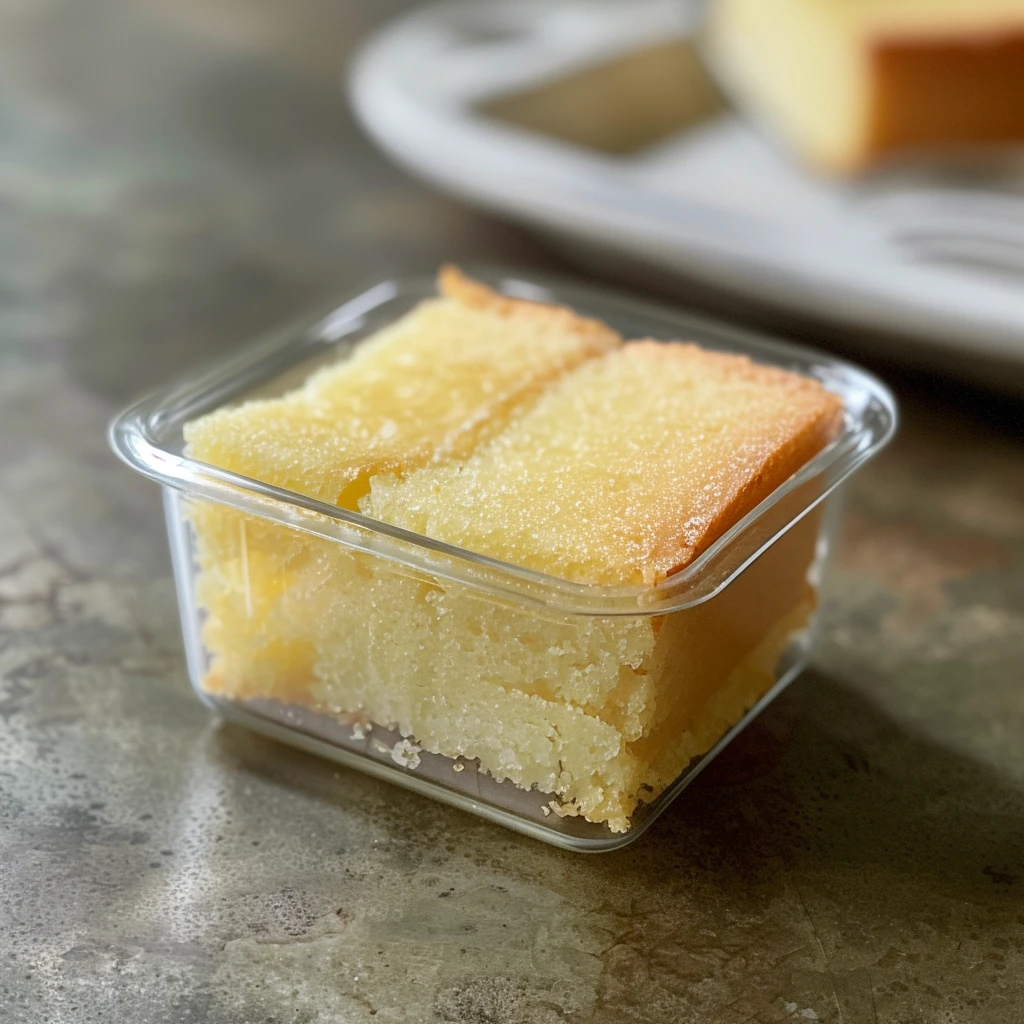
Storage:
Store leftover Lemon Poppy Seed Cake in an airtight container at room temperature for up to 3 days. If you want to keep it longer, store it in the refrigerator for up to 5 days. This cake also freezes beautifully! Wrap it in plastic wrap and foil and freeze for up to 2 months. Thaw it at room temperature before serving.
Nutrition Breakdown (Per Serving):
| Nutrient | Amount |
| Calories | 250 kcal |
| Carbohydrates | 35g |
| Protein | 3g |
| Fat | 12g |
| Sugar | 22g |
| Sodium | 130mg |
Extra Tips to Make the Recipe Perfect:
- Room Temperature Ingredients: Make sure your eggs, butter, and sour cream are at room temperature before mixing. This will help the ingredients combine better and create a smoother batter.
- Don’t Overmix: Mixing the batter too much can result in a dense cake. Mix just until the flour is combined.
- Substitute with a Lemon Syrup: If you like an extra burst of lemon flavor, consider brushing the cake with a simple lemon syrup (made with equal parts lemon juice and sugar) before glazing.
How to Serve:
Serve this Lemon Poppy Seed Cake on its own or with a dollop of whipped cream or fresh berries for an added treat. It’s perfect for afternoon tea, brunch, or as a light dessert after dinner. You can also serve it with a scoop of vanilla ice cream for a delightful contrast to the lemony tang.

Kitchen Tools Needed:
- 9-inch round cake pan or bundt pan
- Electric mixer or hand whisk
- Mixing bowls
- Measuring spoons and cups
- Zester for the lemon
- Cooling rack
- Small bowl for the glaze
🍯 Health Benefits (Yes, Really!)
While this is definitely a dessert, lemons bring a nice dose of Vitamin C. Poppy seeds are also quite interesting. They contain small amounts of minerals like manganese and calcium. Plus, the sour cream provides a bit of protein compared to cakes made with just oil. Moderation is key, but at least you are getting some nutrients with your sugar!
Frequently Asked Questions (FAQs):
🌟 Final Thoughts
This Lemon Poppy Seed Cake is a staple for a reason. It is bright, happy, and surprisingly simple to put together. I think it is the perfect middle ground between a heavy dessert and a light snack. Whether you are sharing it with friends or keeping it all for yourself, it is sure to bring a smile. The tart glaze on top is the perfect finishing touch. I hope this becomes a go-to recipe in your kitchen just like it is in mine!