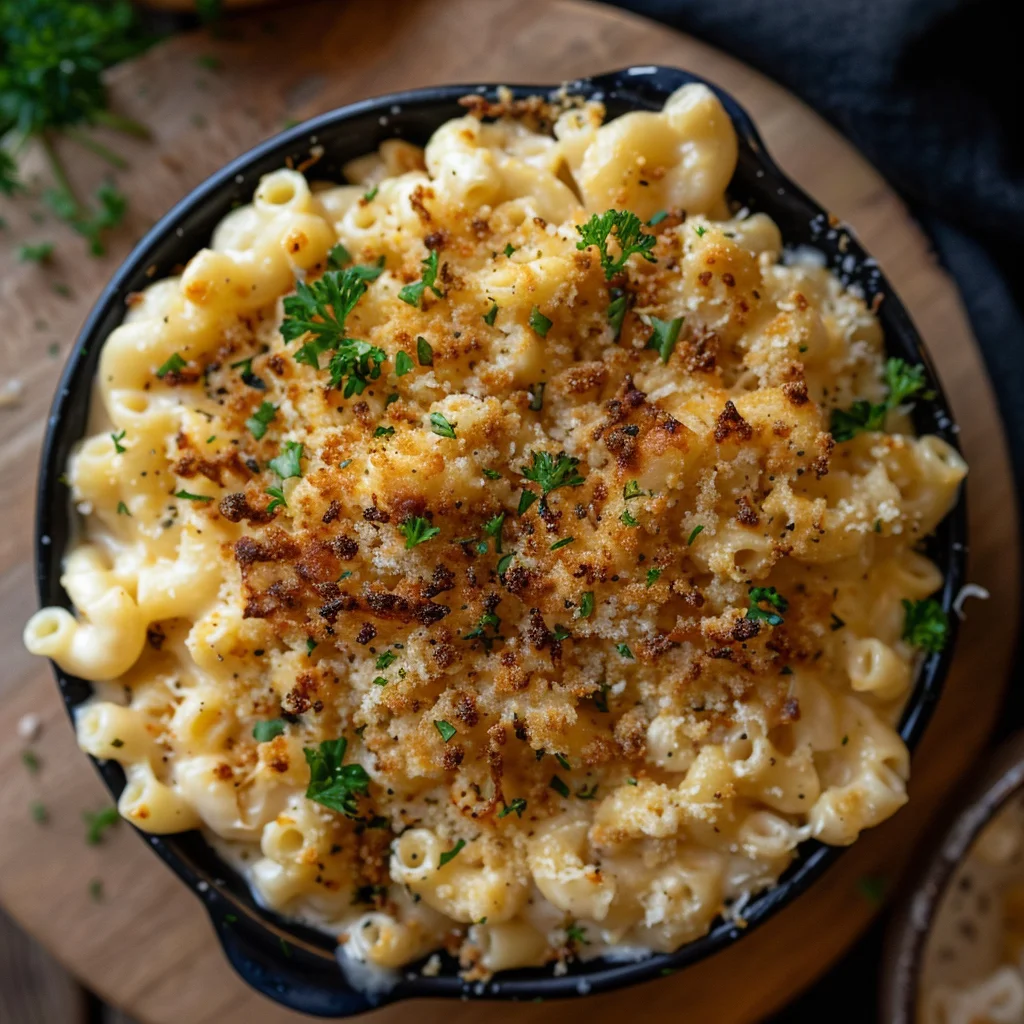
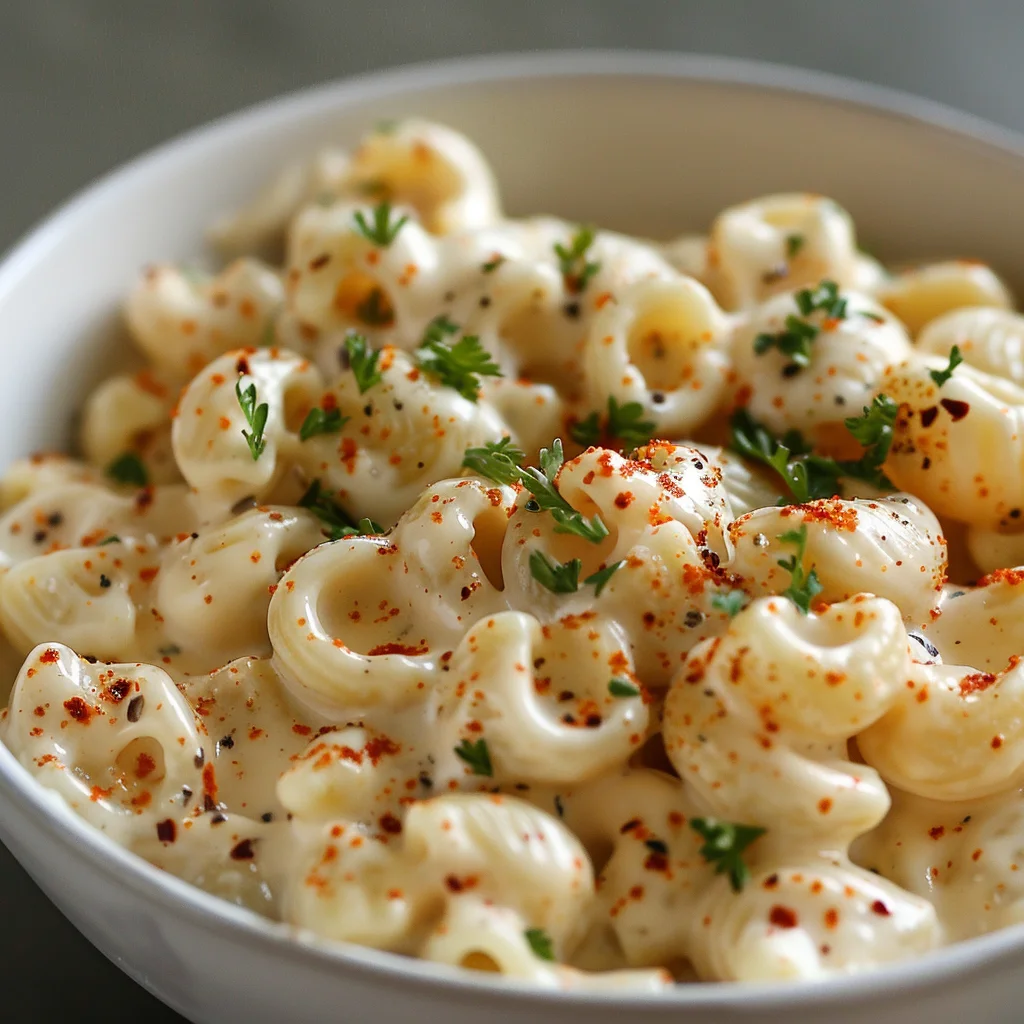
Spicy Pepper Jack Mac and Cheese Recipe – Creamy, Cheesy, and Perfectly Zesty!
If you’re a fan of creamy mac and cheese but crave a little extra heat, then this Pepper Jack Mac and Cheese recipe is exactly what you need! With the melt-in-your-mouth goodness of traditional mac and cheese and the bold, spicy kick from Pepper Jack cheese, this dish offers the perfect balance of creamy richness and zesty flavor. Whether you’re looking for a comfort food classic with a twist or something a little different for your next dinner, this recipe will quickly become a family favorite!

Let’s dive into how you can make this irresistible dish.
Ingredients 🛒
| Ingredient | Quantity |
|---|---|
| Elbow macaroni | 2 cups |
| Pepper Jack cheese | 2 cups, shredded |
| Cheddar cheese | 1 cup, shredded |
| Butter | 2 tbsp |
| All-purpose flour | 2 tbsp |
| Milk | 2 cups |
| Heavy cream | ½ cup |
| Garlic powder | 1 tsp |
| Onion powder | 1 tsp |
| Salt | ½ tsp |
| Black pepper | ¼ tsp |
| Paprika | ½ tsp |
| Red pepper flakes (optional) | ½ tsp |
| Fresh parsley (optional) | 1 tbsp, chopped |
Instructions 📋
- Cook the Pasta: Begin by cooking the elbow macaroni according to the package directions. Drain the pasta and set it aside. Be sure to cook it al dente, as it will absorb some of the cheese sauce later.
- Make the Cheese Sauce: In a large saucepan, melt the butter over medium heat. Once melted, whisk in the flour to form a roux (paste-like mixture). Let it cook for 1-2 minutes, stirring constantly, to remove the raw flour taste.
- Add the Dairy: Gradually pour in the milk and heavy cream, whisking continuously to ensure the mixture is smooth and lump-free. Allow it to cook for 3-4 minutes until it thickens slightly.
- Season the Sauce: Add the garlic powder, onion powder, salt, black pepper, paprika, and red pepper flakes (if using). Stir well to combine.
- Add the Cheese: Lower the heat to medium-low and gradually add the shredded Pepper Jack and cheddar cheese to the sauce. Stir until the cheese melts completely and the sauce becomes creamy and smooth.
- Combine Pasta and Sauce: Add the cooked elbow macaroni to the cheese sauce, tossing to coat the pasta evenly with the sauce. Stir everything together until the pasta is fully coated.
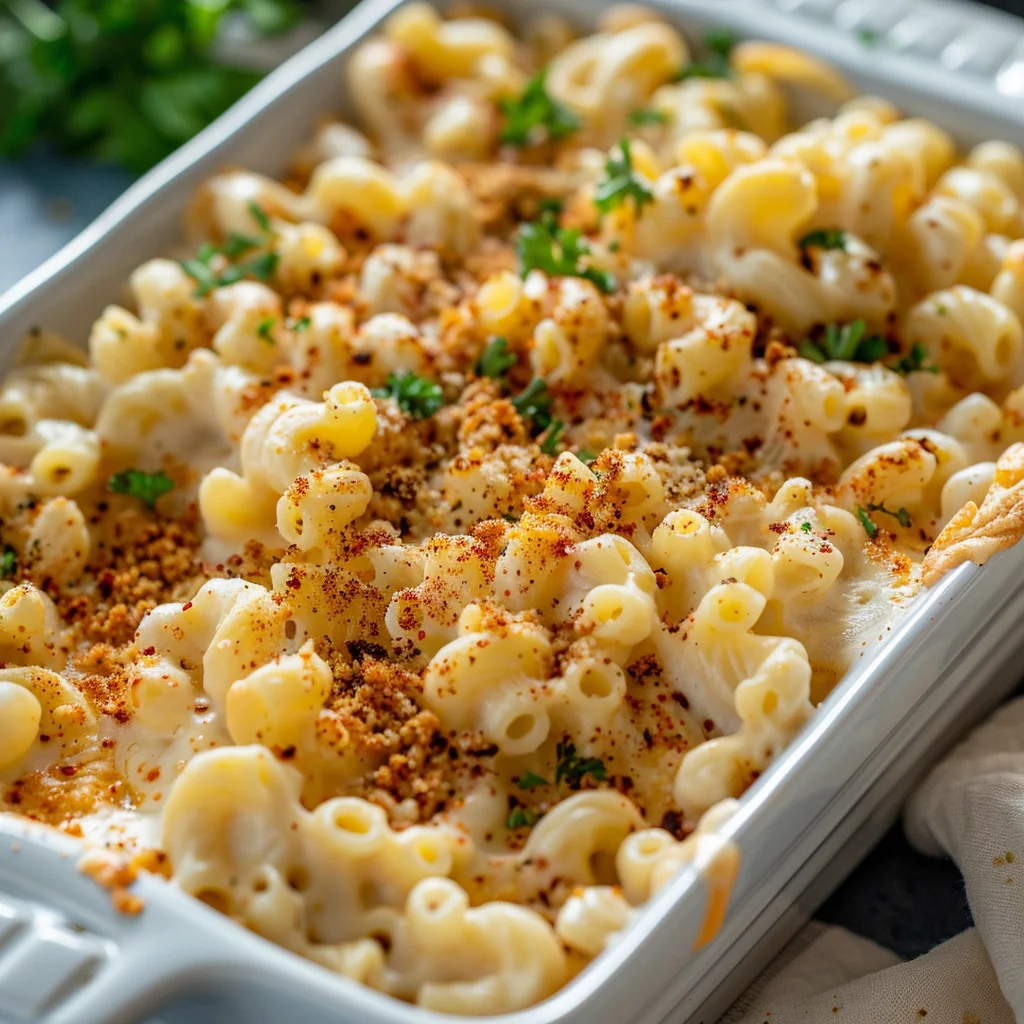
- Serve: Transfer the Pepper Jack mac and cheese to a serving dish. Garnish with fresh chopped parsley if desired, and enjoy!
Tip: For an extra crispy topping, you can broil the mac and cheese for 3-4 minutes after adding some extra shredded cheese on top.
For another warm and cozy recipe, check out this turkey sweet potato chili that’s perfect for the fall season.
Recipe Notes 📝
- Make it Spicier: If you love heat, add more red pepper flakes or even a splash of hot sauce to give it an extra kick.
- Cheese Variety: You can mix and match your favorite cheeses. Adding a little bit of mozzarella will give the dish an even stretchier, gooey texture.
- Meat Add-ins: For a meaty twist, consider adding cooked bacon, sausage, or even grilled chicken.
Time and Servings ⏱️
| Prep Time | 10 minutes |
|---|---|
| Cook Time | 20 minutes |
| Total Time | 30 minutes |
| Servings | 4 servings |
Storage 🏠
Leftovers can be stored in an airtight container in the fridge for up to 3 days. Reheat in the microwave or on the stove, adding a splash of milk to bring the sauce back to a creamy consistency.
Nutrition Breakdown (Per Serving) 🥗
| Nutrient | Amount |
|---|---|
| Calories | 500 kcal |
| Protein | 20g |
| Fat | 30g |
| Carbohydrates | 45g |
| Fiber | 2g |
| Sugar | 5g |
| Sodium | 800mg |
[cal_calc]

Extra Tips to Make the Recipe Perfect 🌟
- Add Toppings: For a delicious crunchy topping, sprinkle breadcrumbs over the mac and cheese before broiling it for 3-5 minutes. You’ll get that crispy, golden crust that everyone loves!
- Use Whole Milk: For a creamier texture, try using whole milk instead of skim milk. It will give the sauce a richer consistency.
How to Serve this Mac and Cheese 🍽️
This Pepper Jack Mac and Cheese can be served as a main dish or as a side. It’s perfect for family dinners, BBQs, or even just a cozy night in. Serve it alongside some roasted veggies or grilled chicken for a complete meal. Enjoy this spicy mac and cheese with a warm bowl of turkey sweet potato chili for a comforting and flavorful meal.
Kitchen Tools Needed 🍴
- Large saucepan: For making the cheese sauce.
- Large pot: To cook the pasta.
- Whisk: To stir the roux and make sure the cheese sauce is smooth.
- Serving dish: To present the mac and cheese when ready.
Health Benefits 🌱
While mac and cheese isn’t exactly known for being light, you can still make it slightly healthier by controlling the ingredients. The combination of Pepper Jack and cheddar cheeses provides protein and calcium, which are great for bone health. The addition of paprika and red pepper flakes can boost metabolism, while the garlic and onion powder provide antioxidants. Enjoying this dish in moderation will make it a satisfying and comforting treat!
FAQs ❓
1. Can I use a different type of pasta?
Yes! You can swap out elbow macaroni for other pasta shapes like penne, fusilli, or even shells.
2. Can I make this recipe gluten-free?
Absolutely! You can use gluten-free pasta and substitute the all-purpose flour with a gluten-free flour blend or cornstarch to make the sauce.
3. Can I make this mac and cheese ahead of time?
Yes! You can prepare the mac and cheese and store it in the fridge for up to 2 days. Just reheat it gently on the stove, adding a little bit of milk if needed.
4. Can I freeze Pepper Jack Mac and Cheese?
Yes, you can freeze the mac and cheese for up to 3 months. When reheating, thaw it overnight in the fridge and then heat on the stove with a little milk.
5. Can I add vegetables to this recipe?
Sure! You can add veggies like spinach, peas, or broccoli for added nutrients and color.
Final Thoughts 💭
Pepper Jack Mac and Cheese is a comforting and spicy twist on a classic favorite. It’s the perfect dish to serve when you want something rich, creamy, and just a little bit bold. The combination of Pepper Jack cheese adds a touch of heat, while the cheddar gives you the creamy, cheesy goodness we all know and love. This recipe is incredibly easy to make and can be customized to suit your tastes. So, gather your ingredients, and in just 30 minutes, you’ll have a satisfying meal that’s sure to please everyone!